Xblock Development
Introduction
In this section we will understand how we can create our own custom XBlock from scratch. In this tutorial we will create an XBlock that will say Hi! To the student and will ask for his/her desired grade(0-100) and once he will enter his grade it will save it.
In order to create an XBlock we need to follow some steps that are defined as below.
Prerequisite
- python 3 or later
Installing SDK
In order to use the SDK we have to clone it through its Github repo.
git clone https://github.com/edx/xblock-sdk.git
Virtual Environment
Now we have to create a virtual environment and activate it.
virtualenv xblock-sdk

source xblock-sdk/bin/activate
Install dependencies
We need to install required SDK dependencies.
cd xblock-sdk

make install
Synchronizing db
Now we have to synchronize our database by using the below two commands:
python manage.py makemigrations

python manage.py migrate
Modification for python3
Although the dependencies defined in the Xblock SDK is for python 3 but there are some functions of python 2 that are used in these files that are deprecated in python 3 so, we need to midify those.
Goto the workbench-make-xblock file located at xblock-sdk/bin and set round brackets to all the print statements. For e.g:
#print statement without brackets
print EXPLANATION

#after adding brackets
print (EXPLANATION)
Now change the function raw_input to input. For e.g:
#deprecated raw_input
short_name = raw_input("Short name: ")

#current input
short_name = input("Short name: ")
Creating XBlock skeleton
By the help of SDK we can create our own XBlock skeleton that will help in development of our custom XBlock. To create an XBlock skeleton we have to run the below command. Running this command will ask you the short name for your XBlock and class name for XBlock, In our case grade gradexblock and class name is Grade GradeXBlock
xblock-sdk/bin/workbench-make-xblock
Run SDK server
To run the SDK server we have to use the below command.
python manage.py runserver
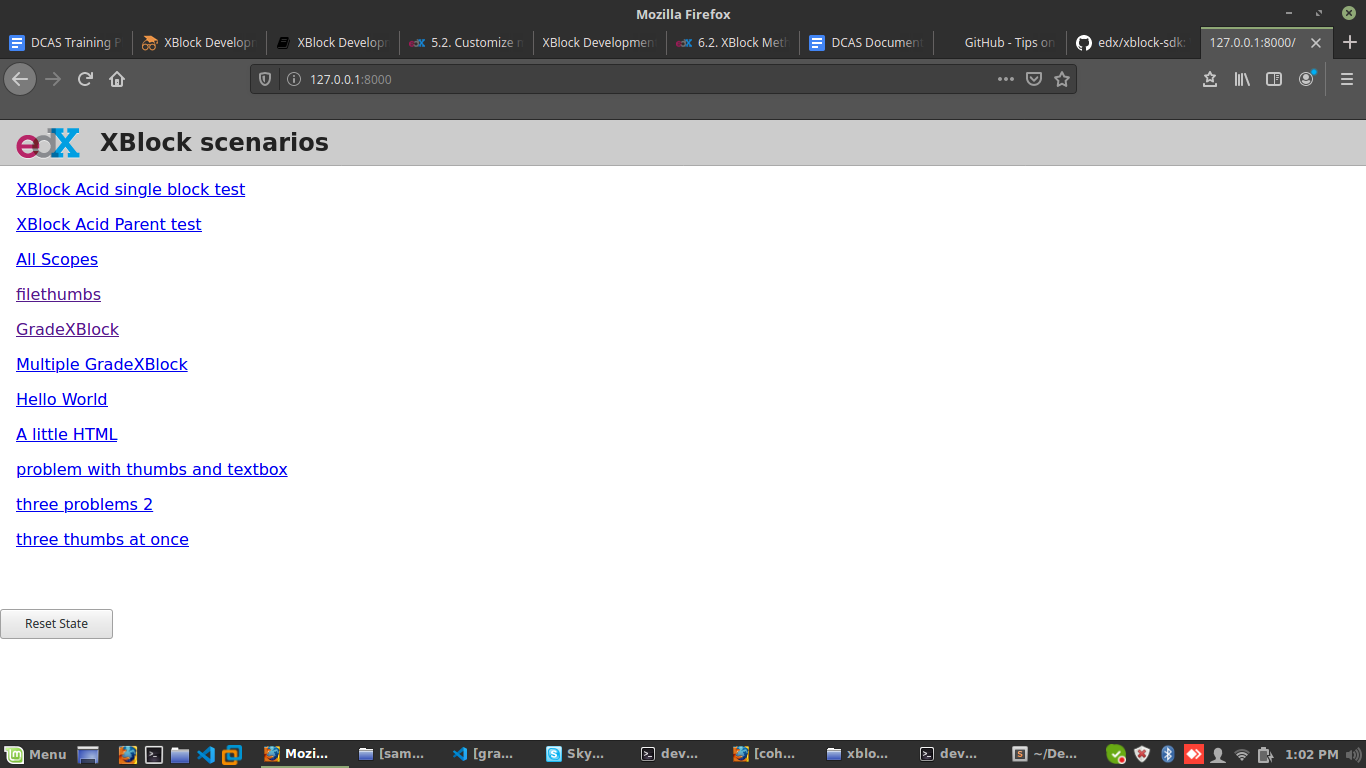
After running the server go you will see a link in the terminal visit that link and you should see the HTML page like below which will contain the list of XBlock where name of your XBlock will also appear.
Customizing XBlock
To customize the XBlock back-end we have a python file that handles the data, events and front-end rendering of the XBlock. The file should be named with the name provided while creating the XBlock skeleton. You can customize the below sections to change the flow of your XBlock.
Fields
The fields in an XBlock are use to store your data it is similar to model in django.
grade = Integer(
        default=0, scope=Scope.user_state,
        help="Store the desire grade of a student",
    )
Student View
To customize the student side view customize this section.
    def student_view(self, context=None):
        """
        The primary view of the GradeXBlock, shown to students
        when viewing courses.
        """
        user = User.objects.get(id=self.scope_ids.user_id)

        context.update({
            "self": self,
            "user": user
        })

        fragment = Fragment()
        fragment.add_content(loader.render_template("static/html/gradexblock.html",context))
        fragment.add_javascript(self.resource_string("static/js/src/gradexblock.js"))
        fragment.initialize_js('GradeXBlock')
        return fragment
Handlers
To handle events from the javascript we use handlers.
    @XBlock.json_handler
    def save_grades(self, data, suffix=''):
        """
        Save the data of grades from student and student username as well.
        """
        self.student = data['student']
        self.grade = data['grade']

        return {"grade": self.grade}
Front-End
To customize the front-end of the XBlock we have a static folder that contains and html (e.g: gradexblock.html), CSS (e.g: gradexblock.css) and javascript (e.g: gradexblock.js) file in their respective directories which we can customize.
Deployment on EDX
The above mentioned steps were done in local machine but you can also do them on your edx server. If you have created the Xblock on local machine then you need to attach the git and push the Xblock to github and then clone the app to your edx server.
To deploy your xblock you have to follow the XBlock installation guide.
Testing the XBlock
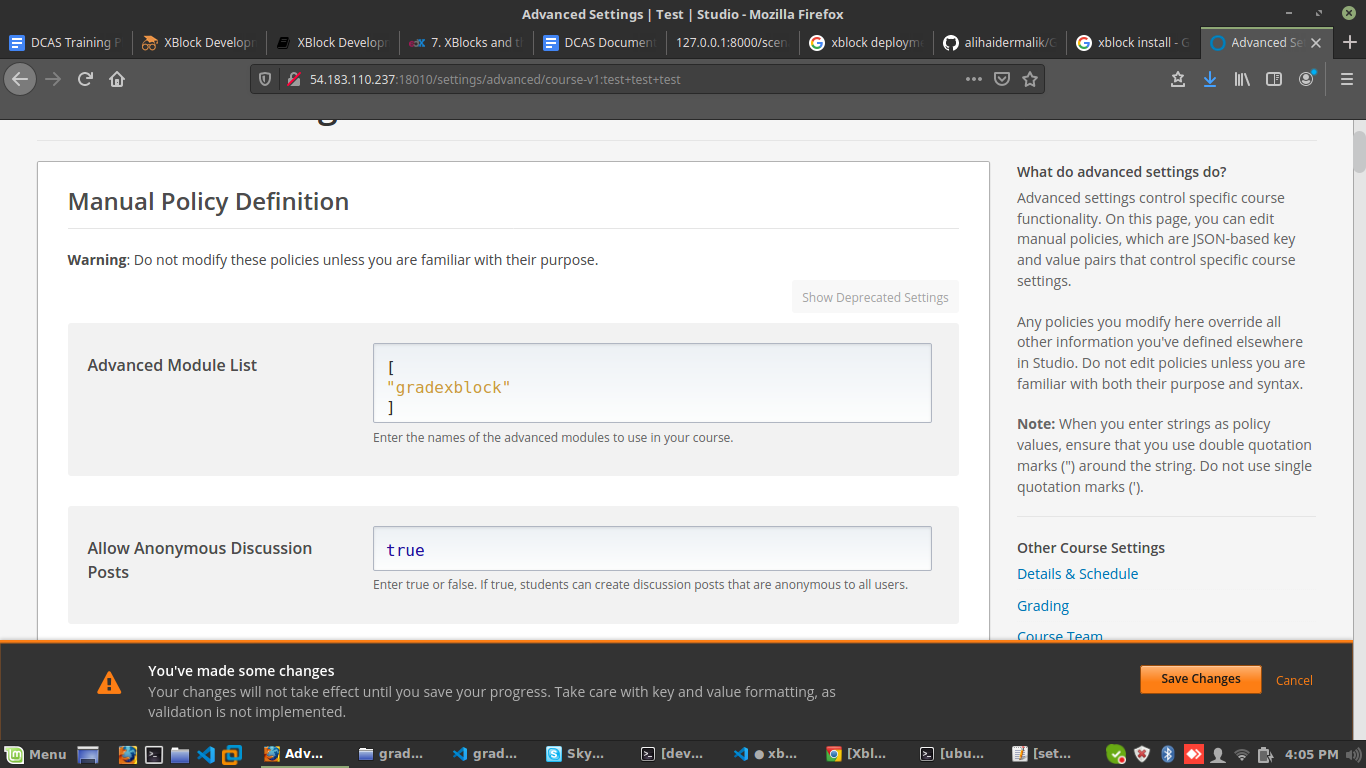
To test your XBlock go to the studio and select the course, then select course setting and in advance module add your XBlock name and click on save.
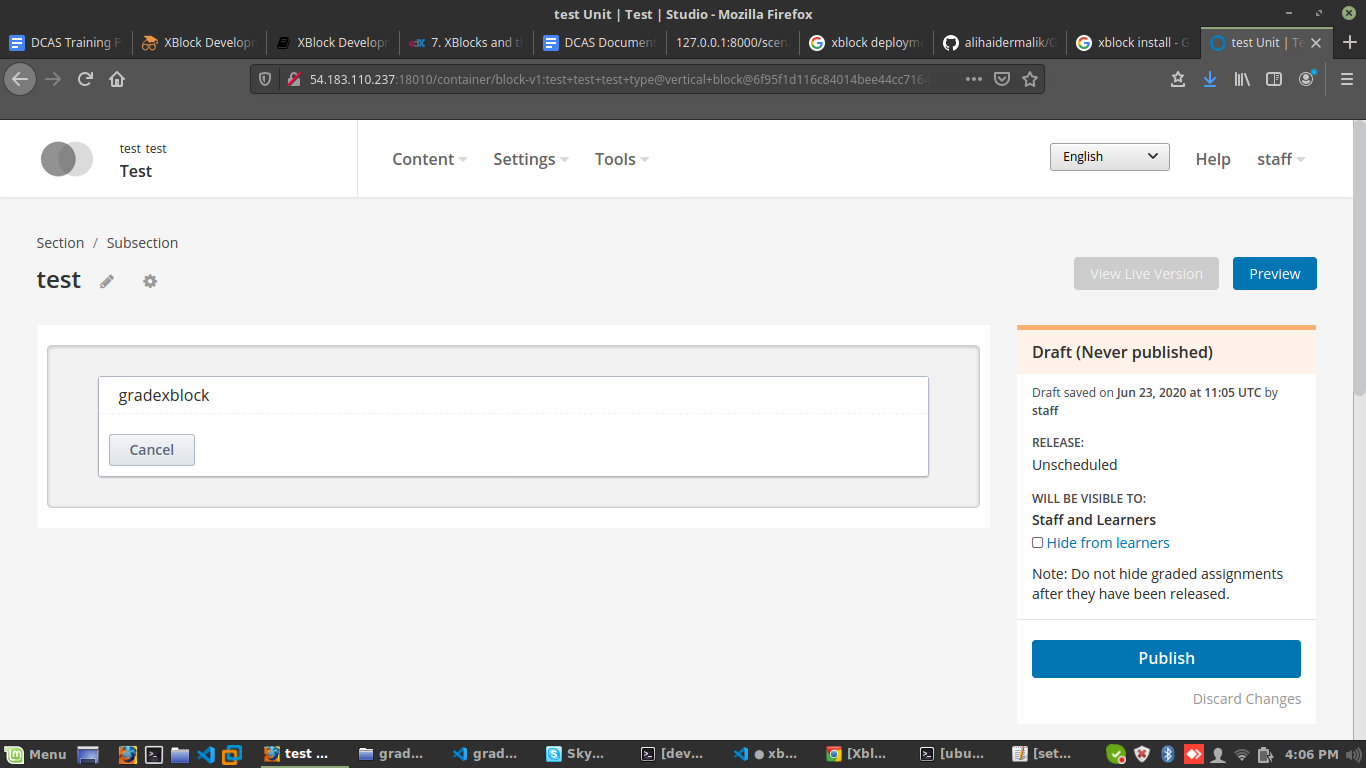
Once you added your XBlock go to the unit of your course you should see Advance option click on that and you will see your XBlock.
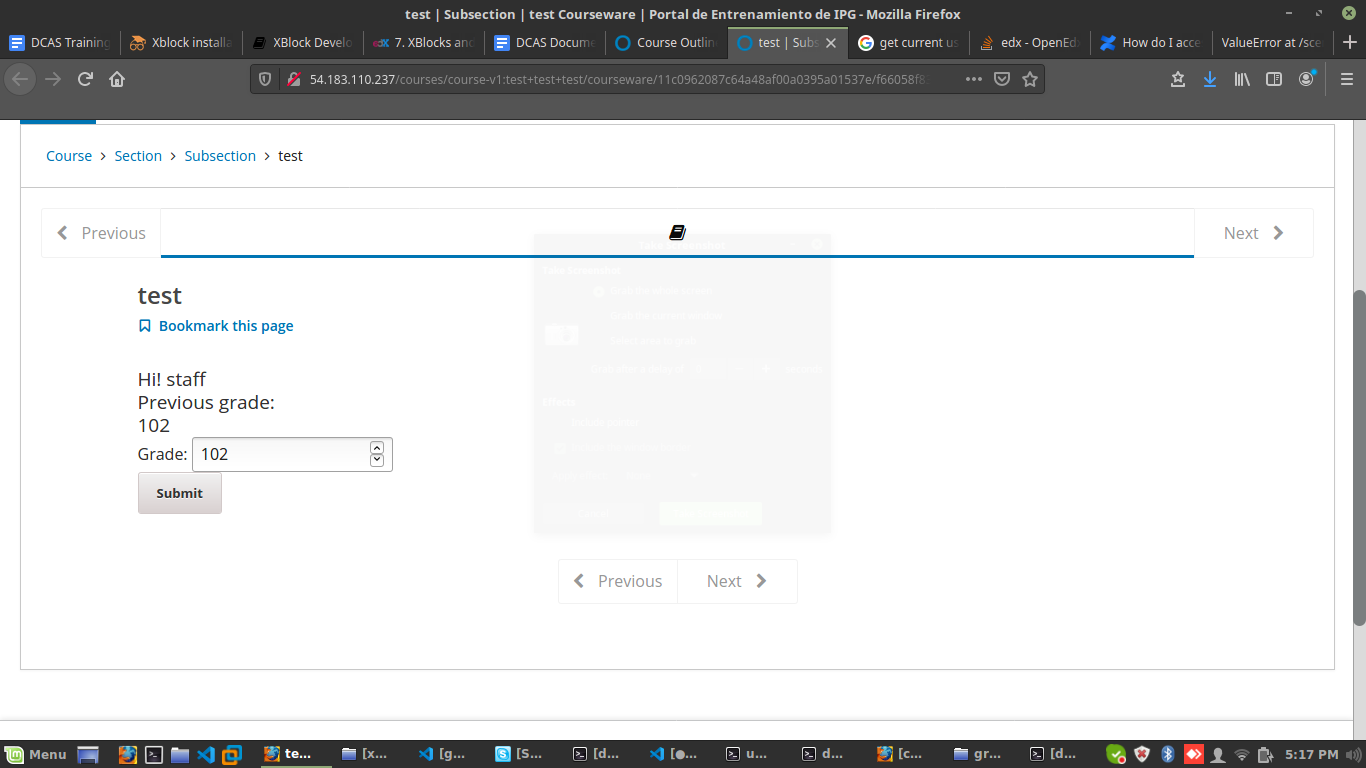
Once you add your Xblock to the unit now check the XBlock on LMS.