Migrating Mongo Database off of Single-Server
These instructions will help you move the Mongo Database off of a standard single-server installation onto an EC2 instance.
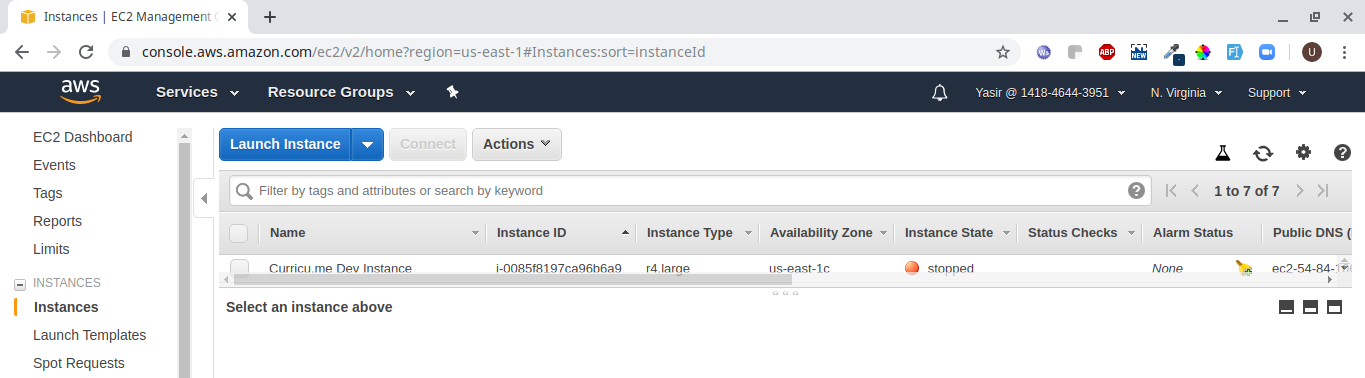
1. Launch a new EC2
Login to AWS account and go to EC2. Click on the "Launch Instance" button on the top left of the console:
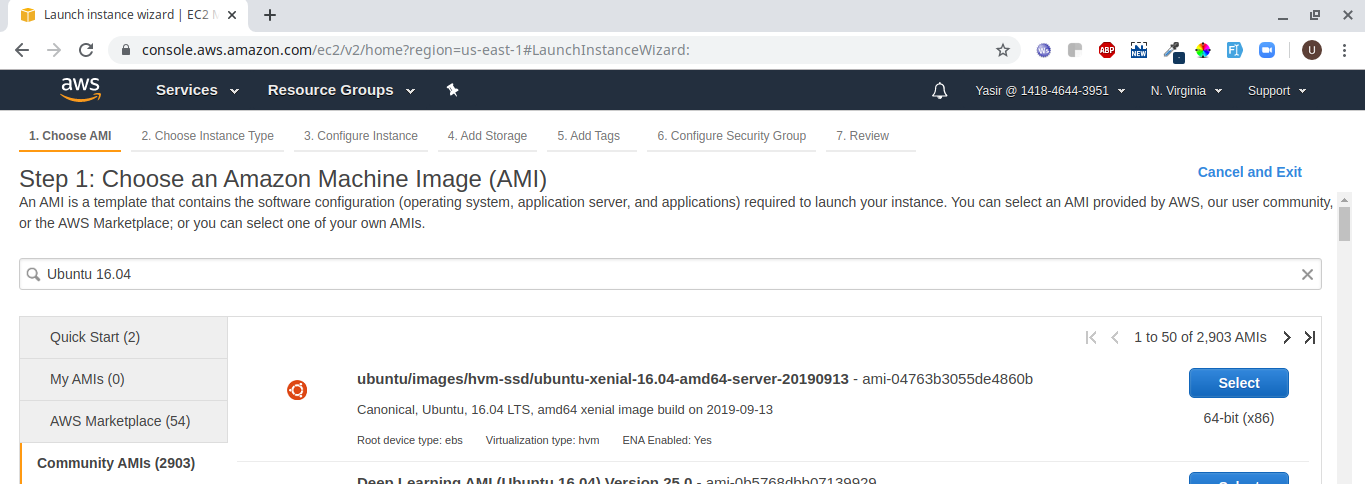
2. Choose an AMI
Look for Ubuntu 16.04 and there you will see in the Community AMIs the one we have chosen. See below:
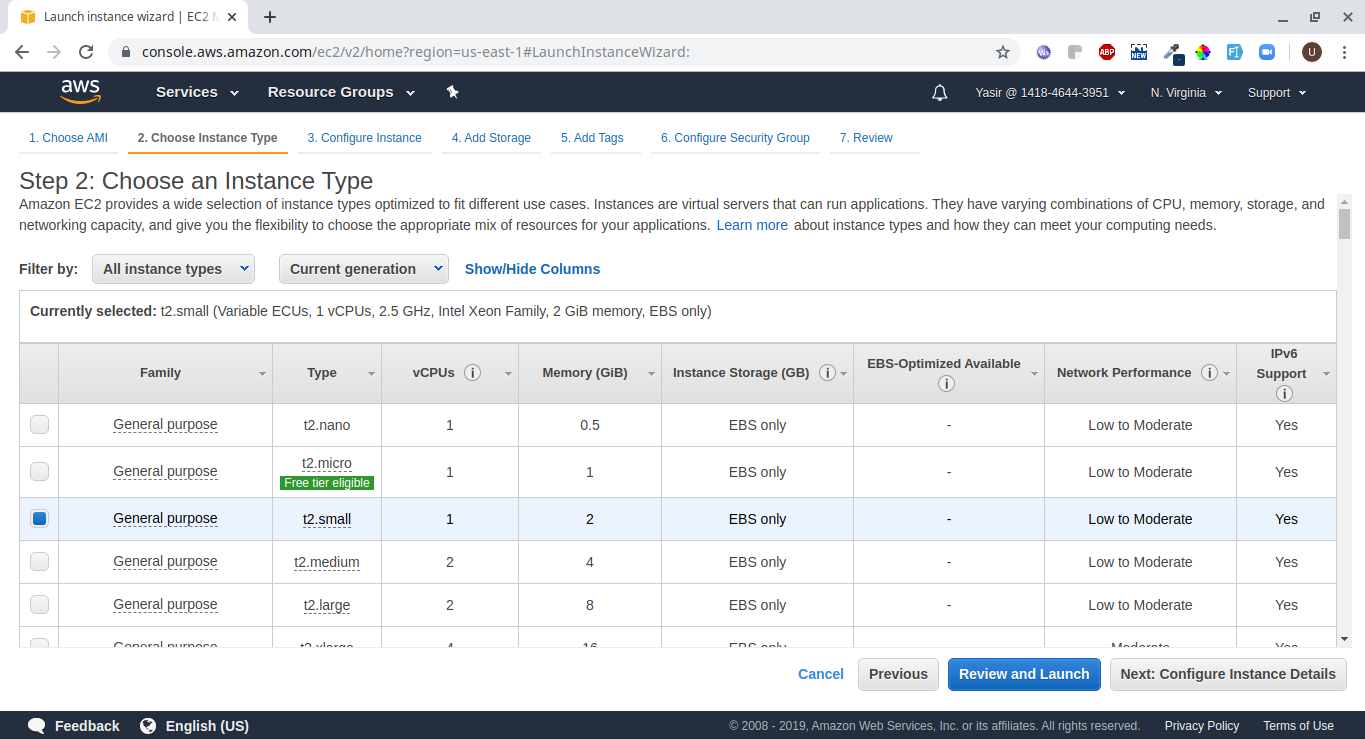
3. Choose an Instance Type.
We have chosen t2.small for the demonstration purpose (t2.medium can be good for Production Instances).
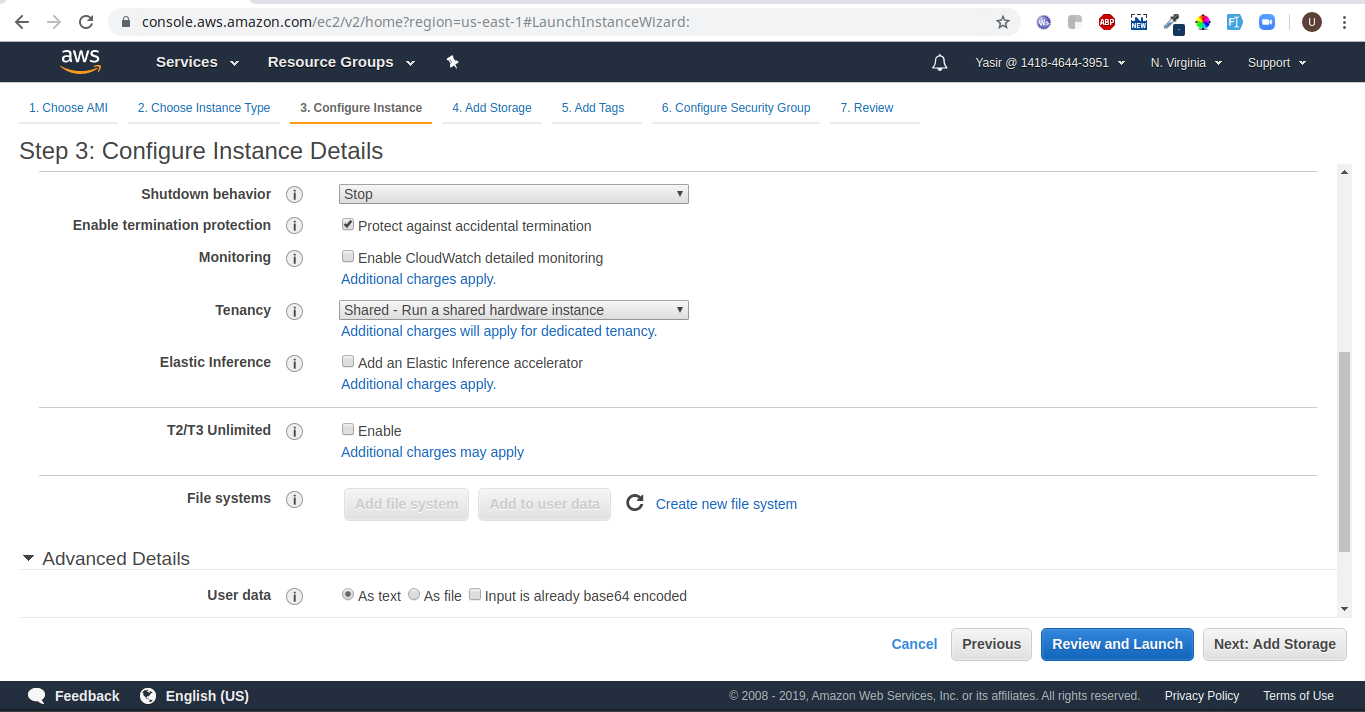
4. Configure the new instance
Keep most of the defaults
Just select the checkbox "Protect against accidental termination". It will save your Instance to be terminated in case of an accident.
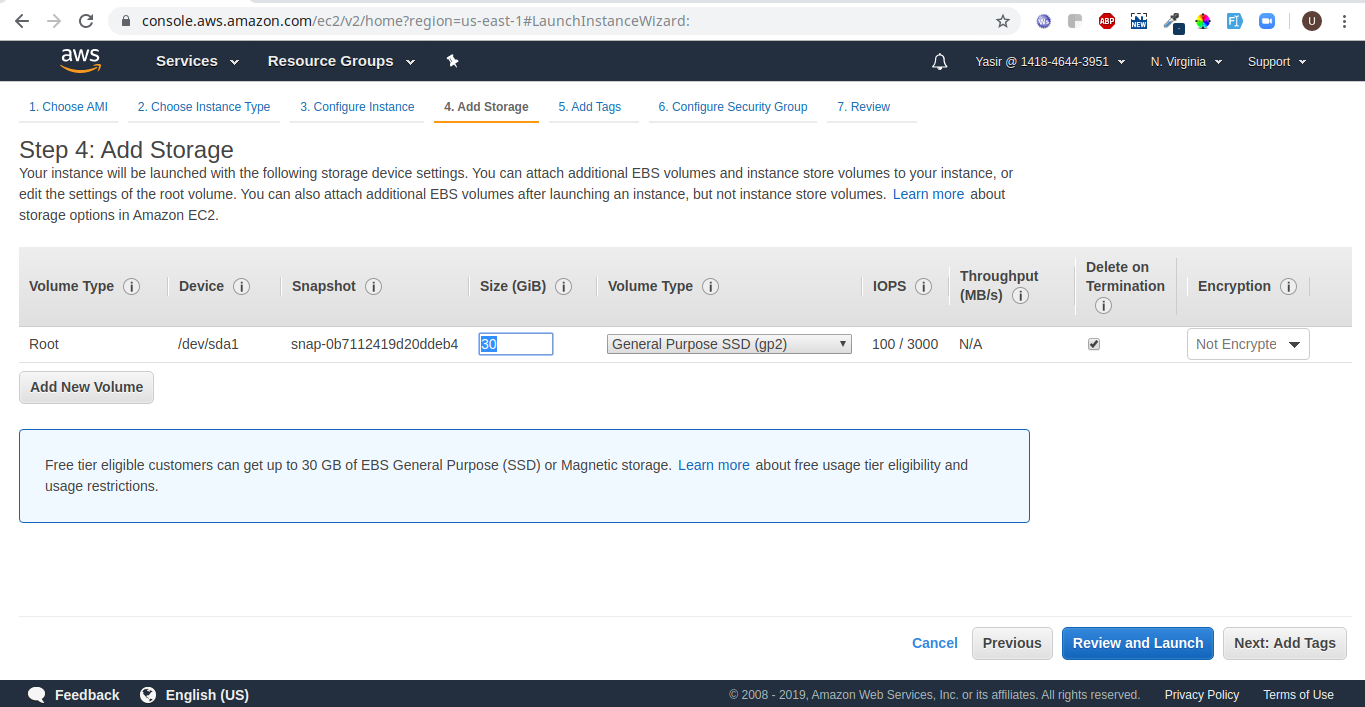
5. Add Storage
We have selected 30 GB of volume.
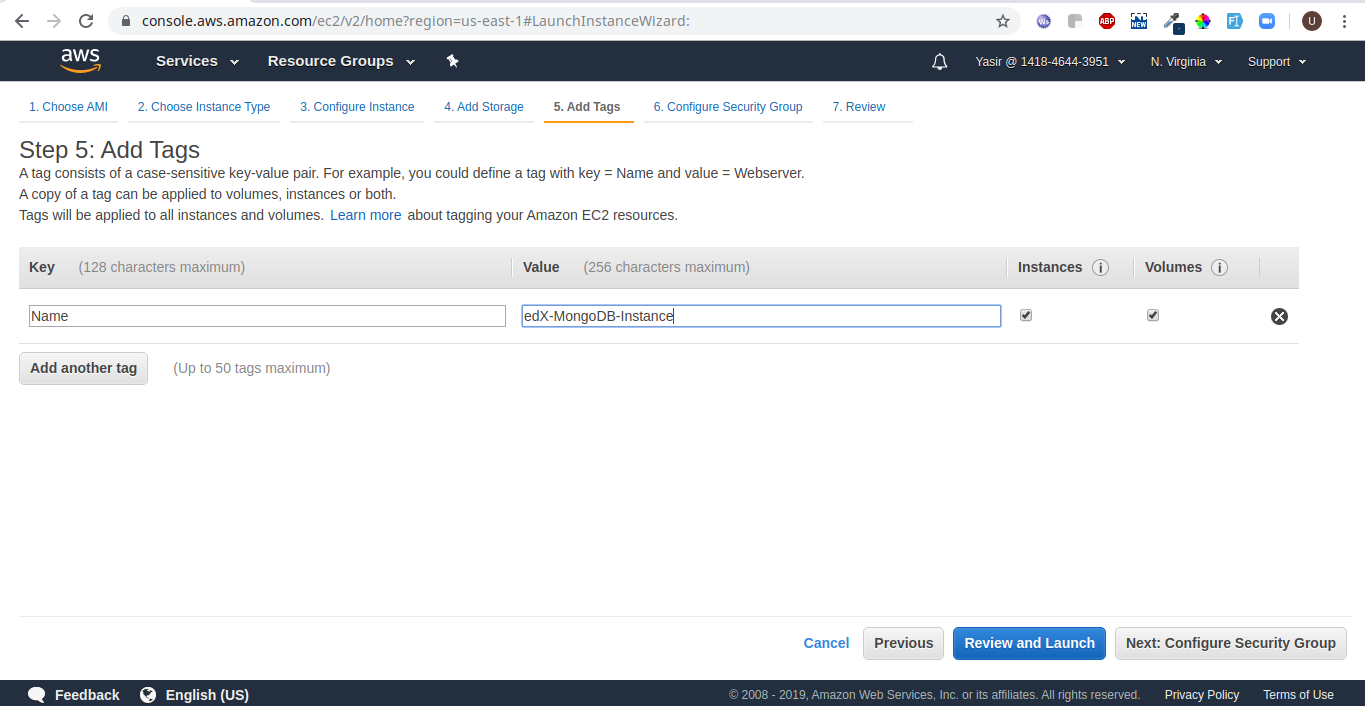
6. Add Tags for your Instance
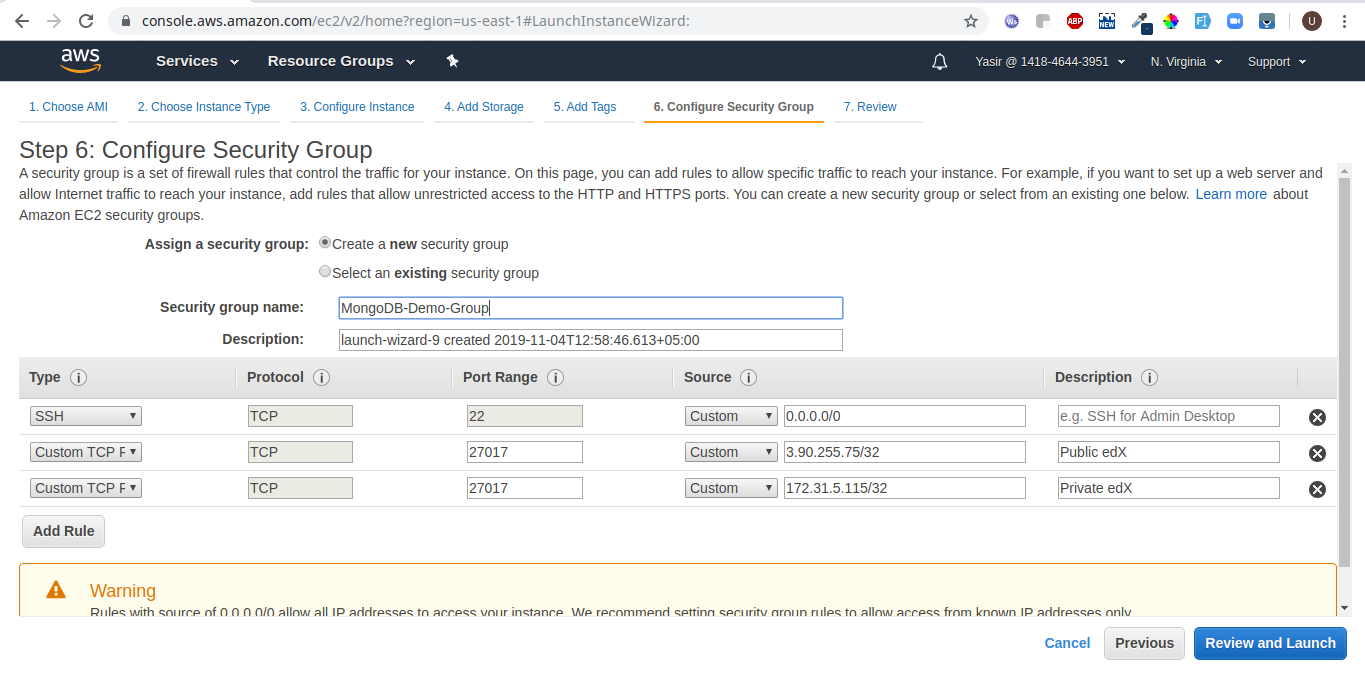
7. Whitelist your application server
Either create a new security group with your edX machines IP whitelisted in the Inbound Rules or use the existing security group with your edX machines IP whitelisted in that.
We have kept the SSH opened to all, but you can also restrict to certain IPs of your choice.
See below:
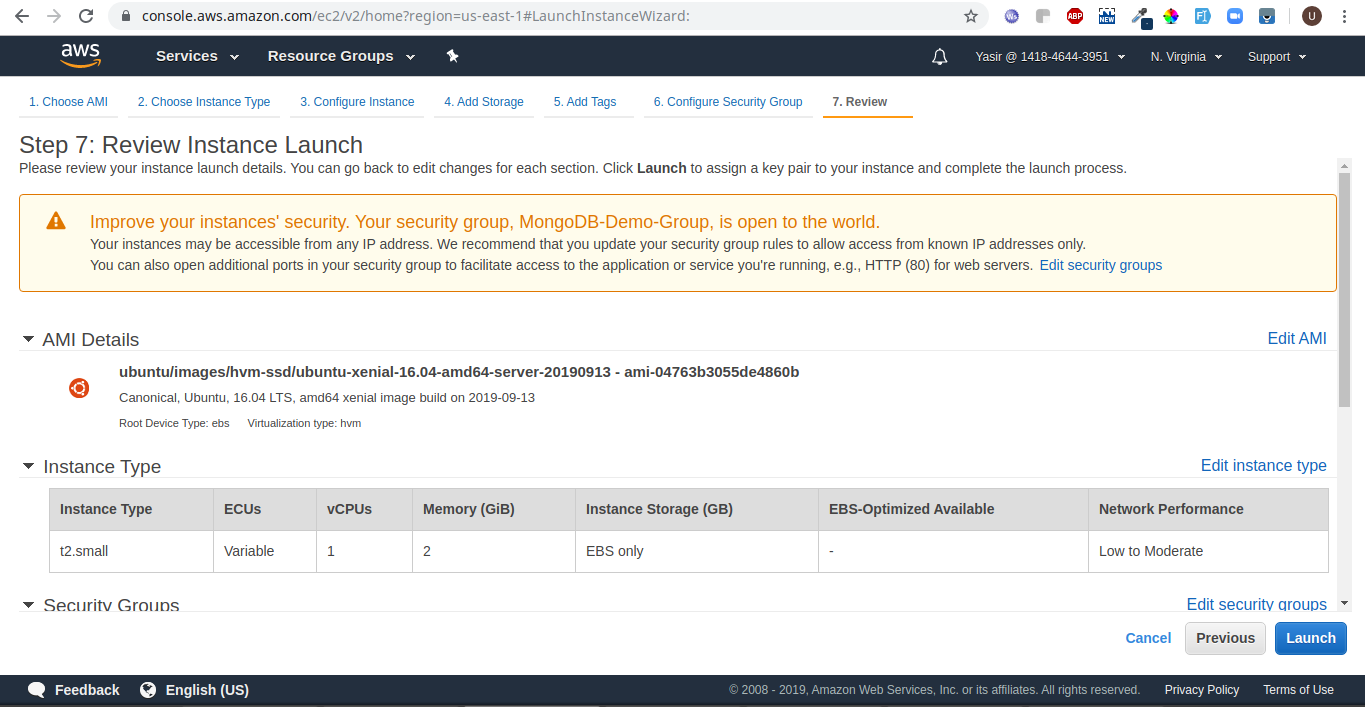
8. Review and Launch:
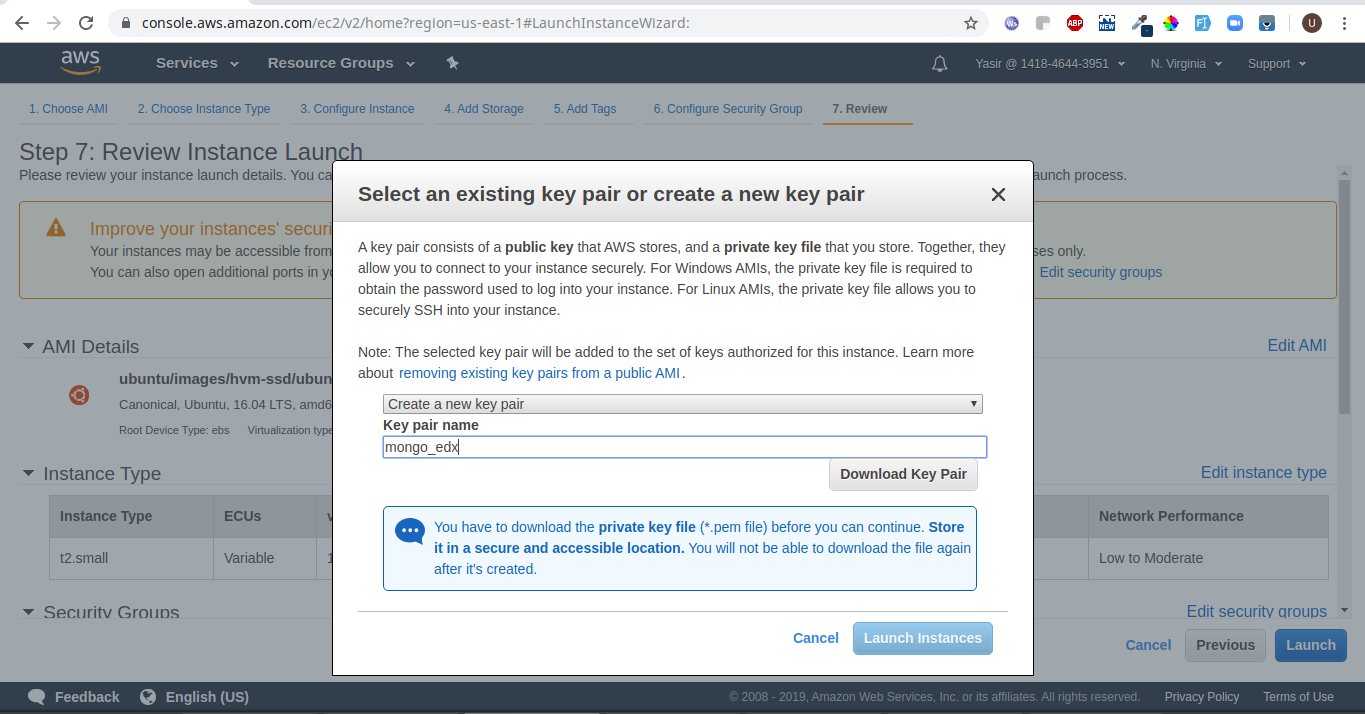
9. Select an existing key pair or create a new pair like we have created in this demonstration:
10. After Launch, you will see the machine Initializing on your EC2 window. Like this:

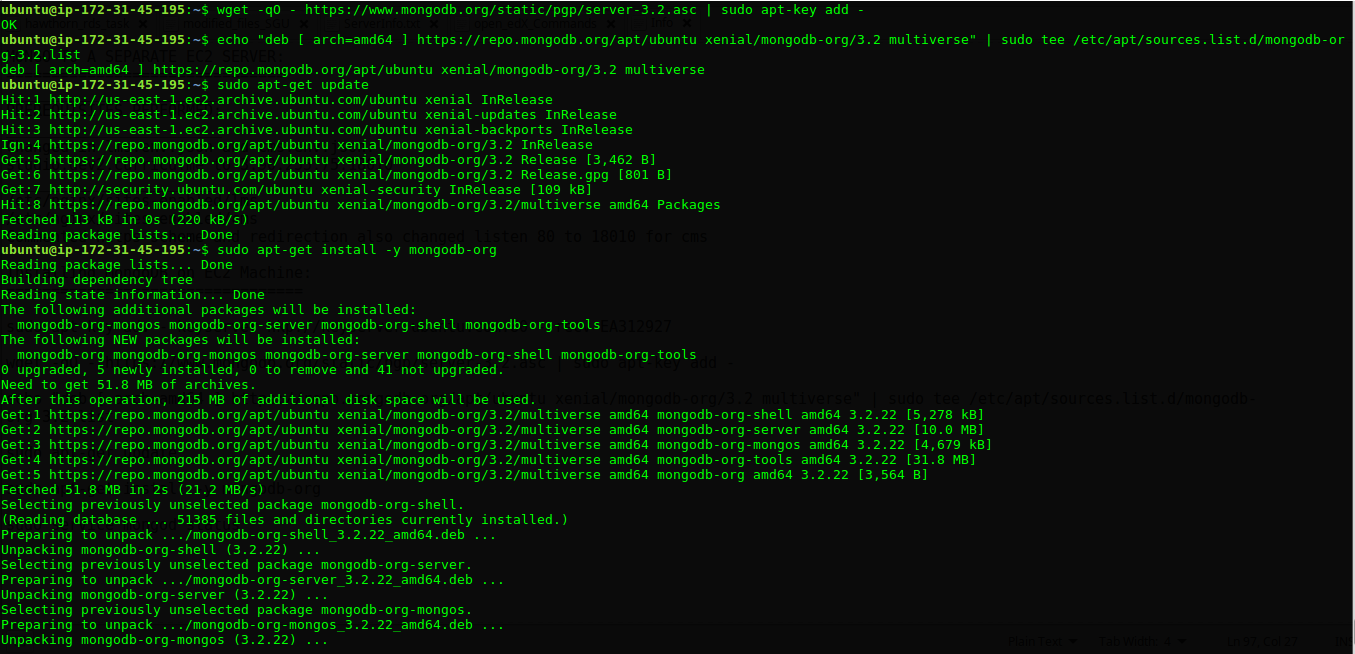
11. Install Mongo on your fresh EC2
As, your instance gets up and running. SSH inside the machine by issuing the following command:
ssh username@Host -i path-to-pem or pub key
In our case:
ssh ubuntu@3.93.190.126 -i mongo_edx.pem
Then, install the MongoDB on the machine by issuing the following commands:
wget -qO - https://www.mongodb.org/static/pgp/server-3.2.asc | sudo apt-key add -

echo "deb [ arch=amd64 ] https://repo.mongodb.org/apt/ubuntu xenial/mongodb-org/3.2 multiverse" | sudo tee /etc/apt/sources.list.d/mongodb-org-3.2.list

sudo apt-get update

sudo apt-get install -y mongodb-org
12. Check the status of Mongo
After successful installation, you can check the mongo status by issuing the command:
sudo service mongod status

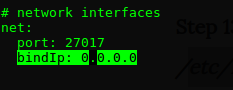
13. Change the bindIP for Mongo
Change the bindIp from 127.0.0.1 to 0.0.0.0 in the file: /etc/mongod.conf
Open it with any editor like nano:
sudo nano /etc/mongod.conf
14. Migrate Mongo from the application server to the new EC2
Now, we have to migrate the Mongo Databases from edX machine to the new EC2 server on which we have just installed and configured MongoDB.
So, first we'll take dump of the DBs from edX for: edxapp, cs_comments_service and admin.
Follow the next steps to do that:
Extract the passwords for edxapp, cs_comments_service and admin from my-passwords.yml (located at /home/ubuntu/my-passwords.yml), they will be used while taking dump:
For edxapp, look for: EDXAPP_MONGO_PASSWORD
For cs_comments_service: FORUM_MONGO_PASSWORD
For admin: MONGO_ADMIN_PASSWORD
For taking the dump, issue the following:
edxapp:
mongodump --host=localhost --db=edxapp --username=edxapp --port=27017 --password=EDXAPP_MONGO_PASSWORD
cs_comments_service:
mongodump --host=localhost --db=cs_comments_service --username=cs_comments_service --port=27017 --password=FORUM_MONGO_PASSWORD
admin:
mongodump --host=localhost --db=admin --username=edxapp --port=27017 --password=MONGO_ADMIN_PASSWORD
See screenshot for reference:

15. Transfer Mongo dumps to new EC2
Now, we have to transfer these dump of DBs to the Mongo Machine, and for that you have to do two steps.
First, from your local machine perform the SCP (Secured Copy) of your pem key or public key of your Mongo Machine to the edX Machine:
scp -i path-to-key source-item destination
In our case:
scp -i ~/Desktop/USER/SGU/id_rsa mongo_edx.pem ubuntu@3.90.255.75:/home/ubuntu
You will see the mongo_edx.pem file at the location (/home/ubuntu).
Modify its permissions by issuing:
chmod 600 mongo_edx.pem

Now, we are fine to transfer the dump to the mongo machine. Follow the next steps to proceed:
16. SCP dump folder to Mongo Machine
scp -i path-to-key -r source destination.
In our case:
scp -i mongo_edx.pem -r dump/ ubuntu@3.93.190.126:/home/ubuntu

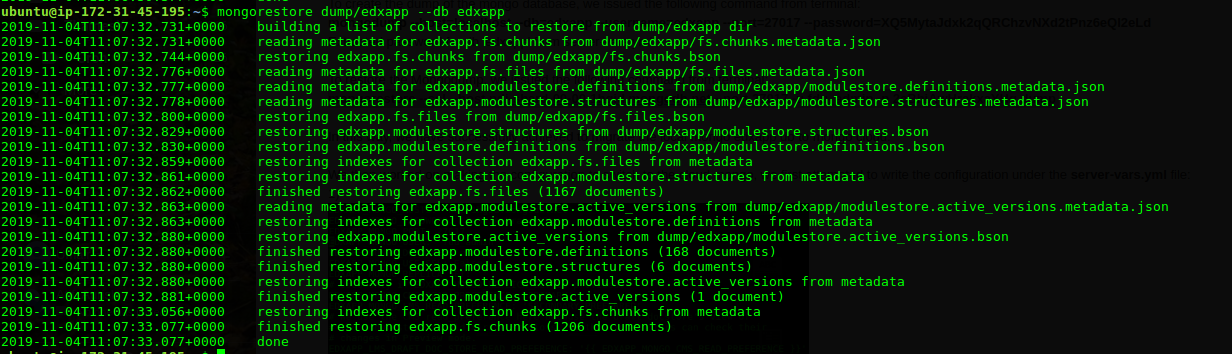
17. Restore the Mongo data
ssh ubuntu@3.93.190.126 -i mongo_edx.pem
You will see the dump at the following location: /home/ubuntu/
Then, restore edxapp, cs_comments_service and admin on Mongo Instance.
Issue the commands one by one:
edxapp:
mongorestore dump/edxapp --db edxapp
cs_comments_service:
mongorestore dump/cs_comments_service --db cs_comments_service
admin:
mongorestore dump/admin --db admin
Screenshot:

18. Point the application server to the new Mongo server
Now, we have to get back to the Open edX machine in order to point our application to the new MongoDB Instance:
First ssh into the edX server and then following Commands are to be issued:
sudo -H -u edxapp bash
cd
source /edx/app/edxapp/edxapp_env
Edit the files:
nano lms.auth.json
nano cms.auth.json:
Search for 27017 and replace all the Instances for "host": "localhost" to "host": "Your-Mongo-Server" i.e:
In our case: "host": "172.31.45.195" (Private IP of the Mongo Machine - If our edX Machine and Mongo Machine are in the same subnet on AWS, then use the Private IP, like here)
Do the same on both the files and save the changes on both files.
Now, press CTRL+D to exit the edxapp user and do this:
Change the forum settings:
sudo -H -u forum bash
cd
source forum_env
Open the file:
nano forum_env
Replace localhost with 172.31.45.195 (Your Mongo Machine) in MONGOHQ_URL.
Save and Close the file. Then, go to cs_comments_service/config
cd cs_comments_service/config
nano mongoid.yml
Replace this:
development:
clients:
    default:
    <<: *default_uri
    <<: *default_client
With:
development:
clients:
    default:
    <<: *default_client
    database: cs_comments_service
    hosts:
        - 172.31.45.195:27017
Save and Close the file. Exit the forum user by CTRL+D and then:
Restart lms cms and forum. Issue the following command:
sudo /edx/bin/supervisorctl restart lms cms forum
19. Test application.
To double check the connection, stop the local mongod instance on your edX Instance:
sudo service mongod stop
sudo service mongod status
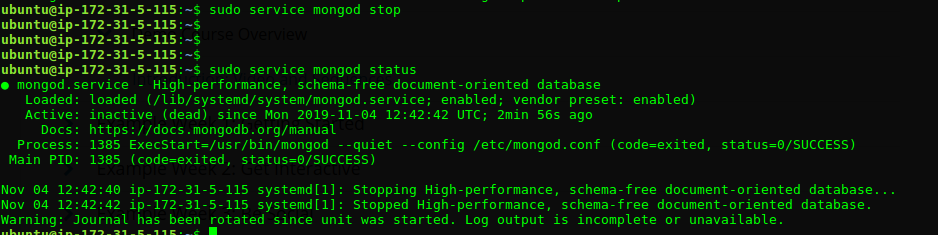
Test that your application is still working, even with Mongo not running on the local machine.