Private Blob Configuration
Following steps were performed for secured communication between the Virtual Machine and the Azure Blob Storage, and eliminated the usage of blob files from the internet.
Steps to create a virtual machine
Go to Home/VirtualMachine - > Create a new Virtual Machine
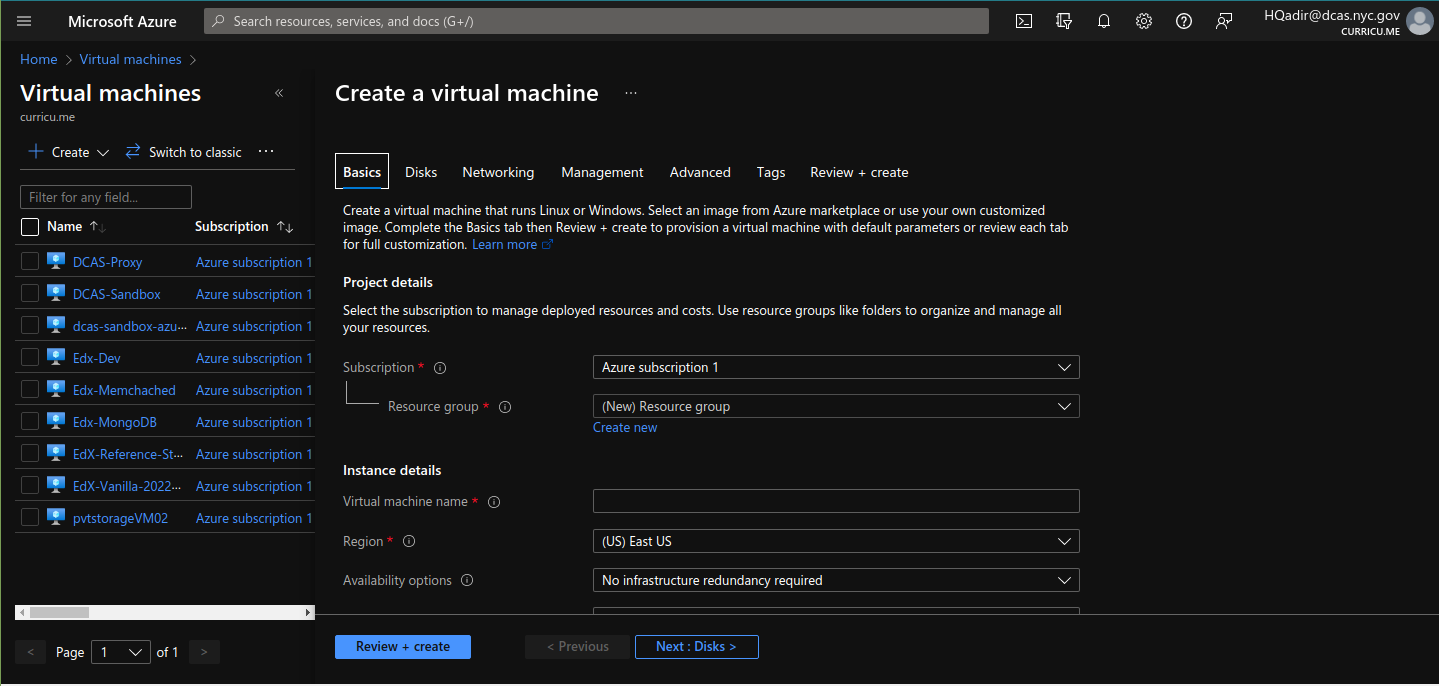
Fill out the relevant fields accordingly and move to next steps till you go to the “Networking” tab.
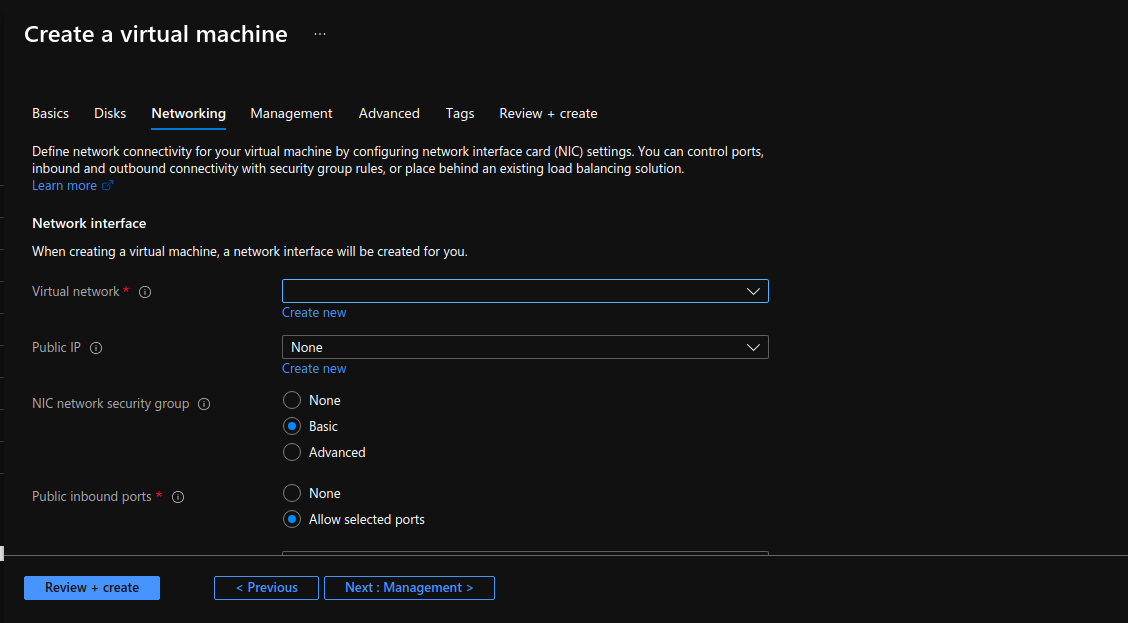
Now here, either create a new Virtual network or choose from list of existing Virtual network:
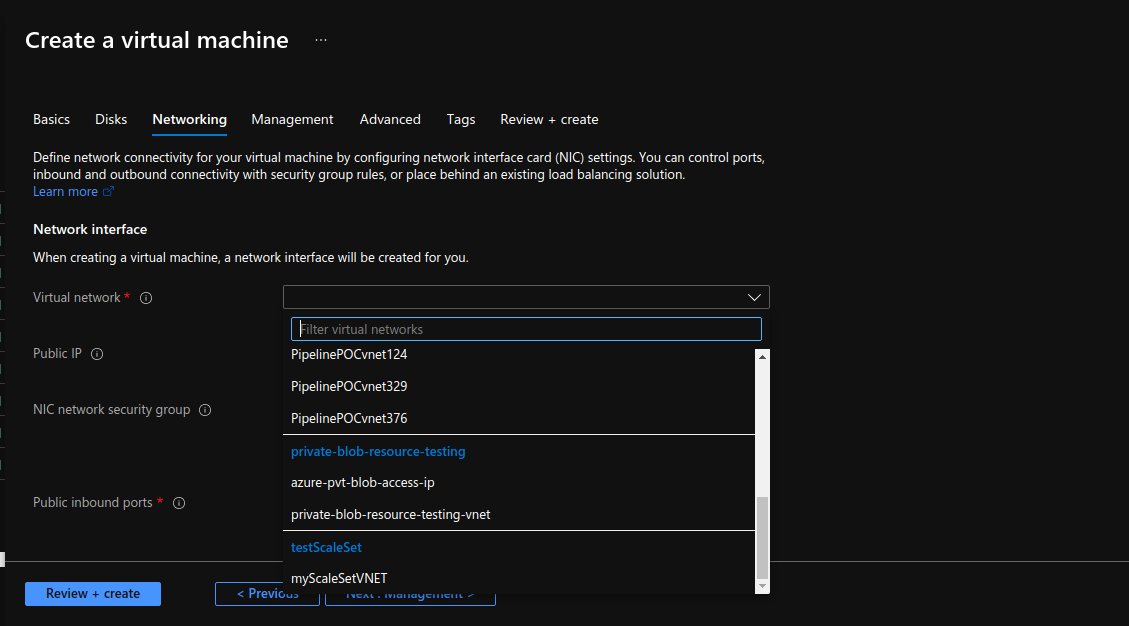
We will choose “private-blob-resource-testing-vnet”.
Then we will also choose a public IP for this instance because we are not using a load balancer, if you are using a load balancer, don’t create a public IP
then proceed with creating the VM accordingly.
Once the VM is created, it will looks like this:
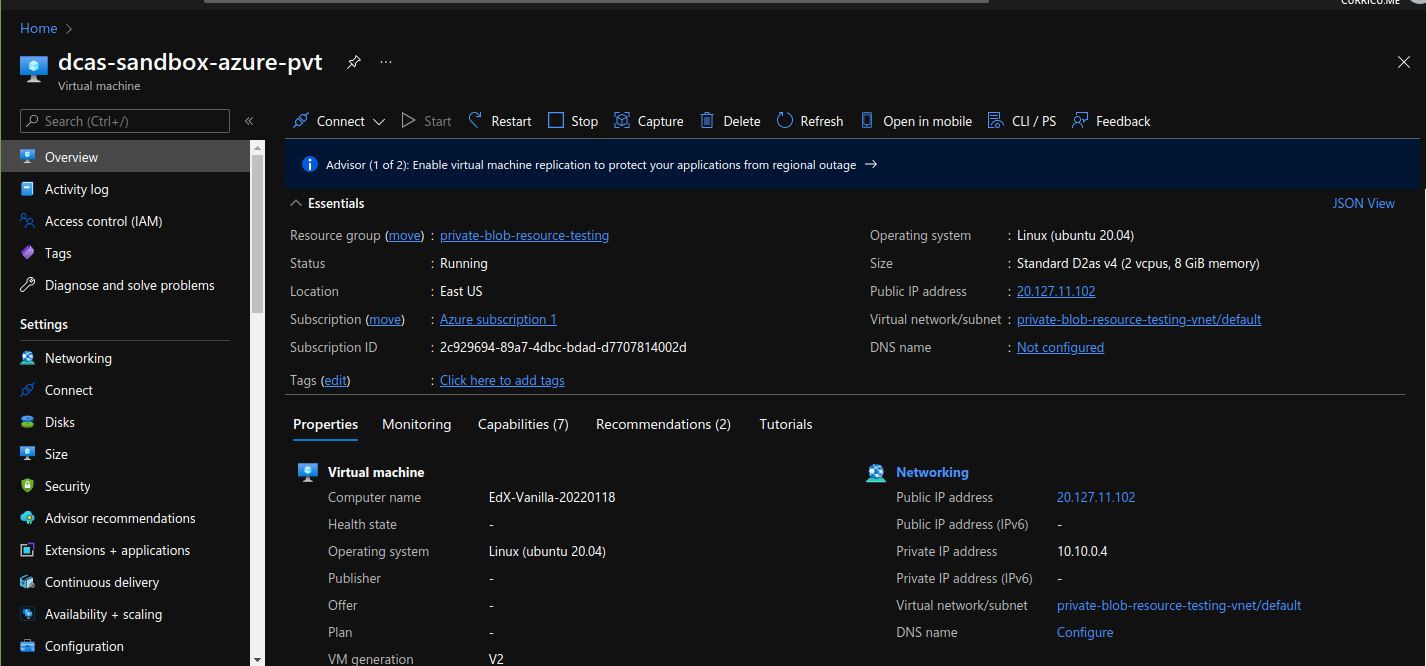
Note the “Virtual Network”, we are going to use that in our remote storage.
Steps to configure networking of remote storage
I’m not covering the creation of Storage Account and Blob in this document, because that’s redundant here, and will be covered in a separate document.
Now, go to the “Storage Account”.
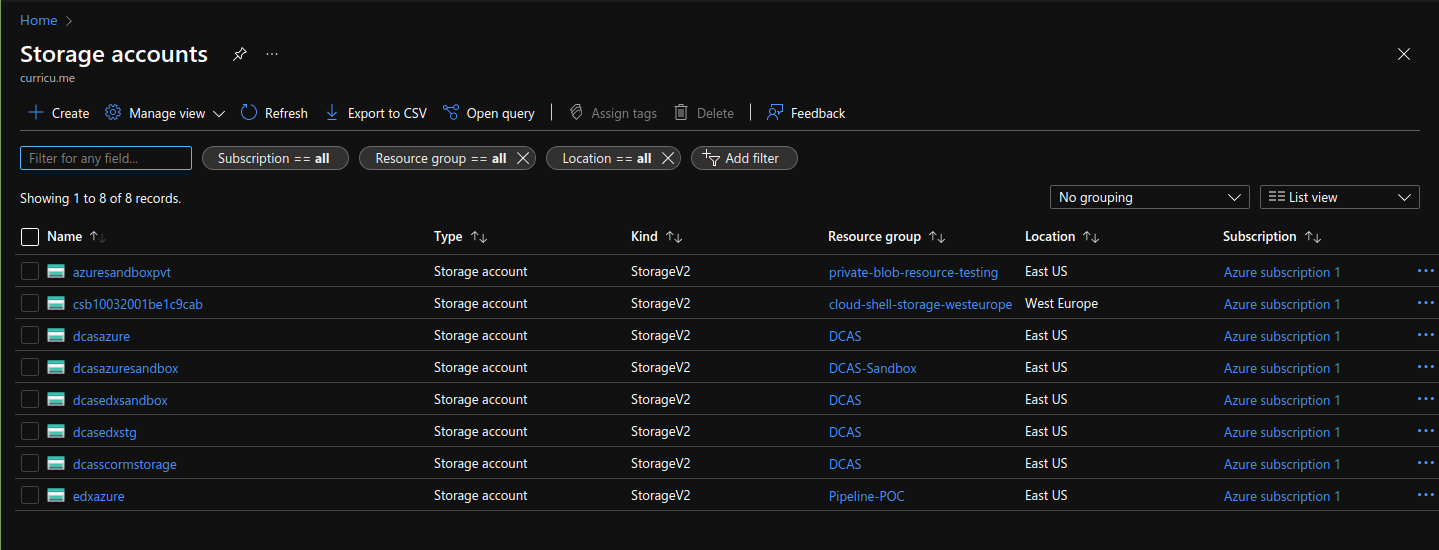
Select your Storage Account:
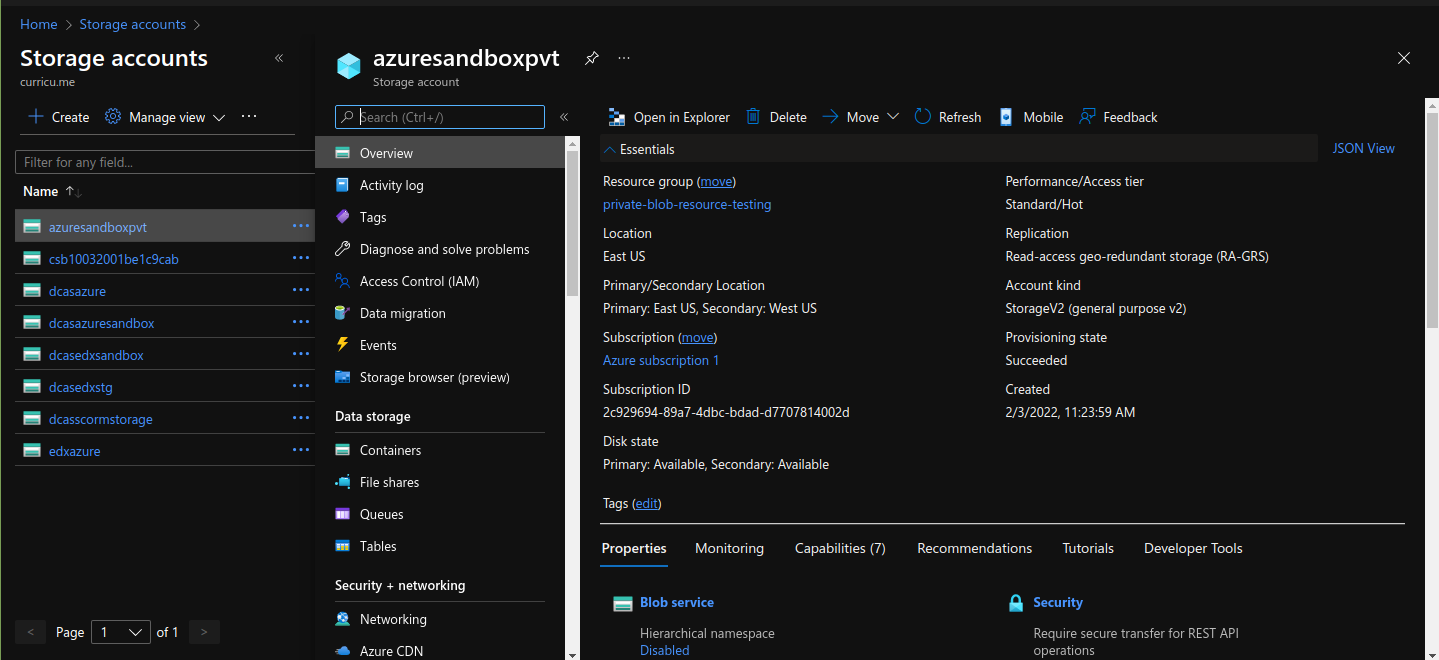
And goto “Containers”.
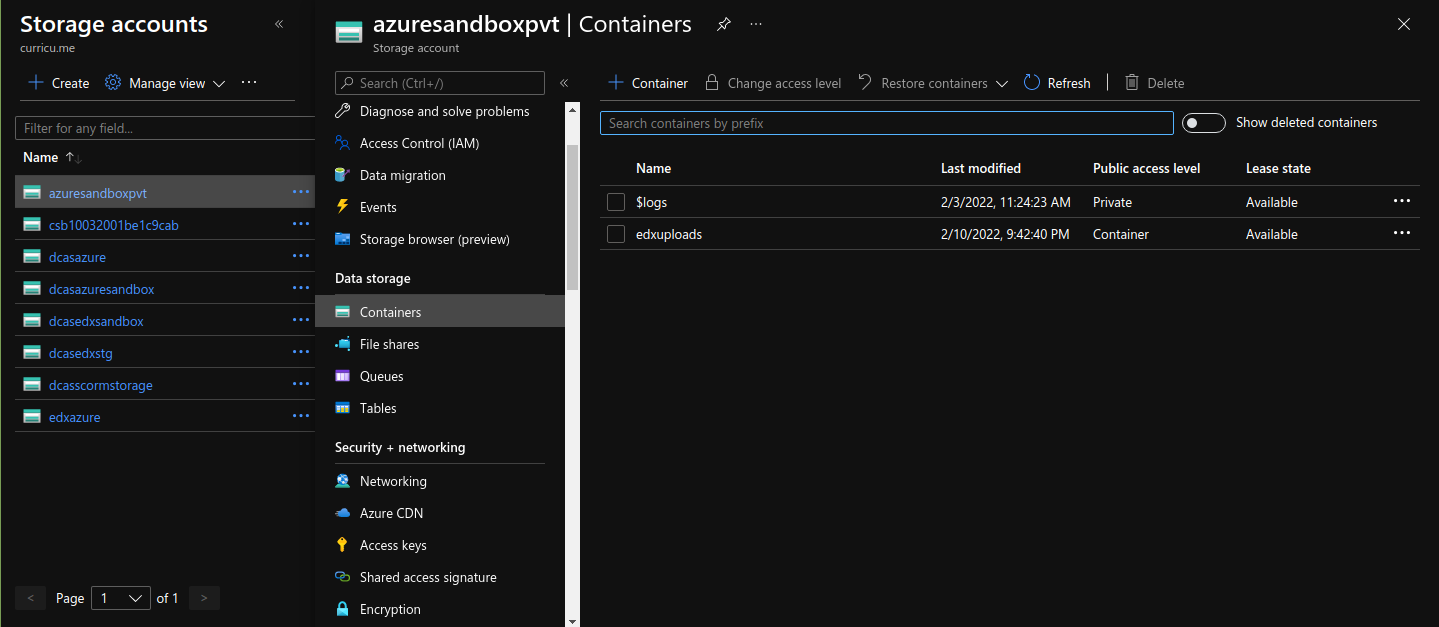
Select your Container and click on “Change access level”
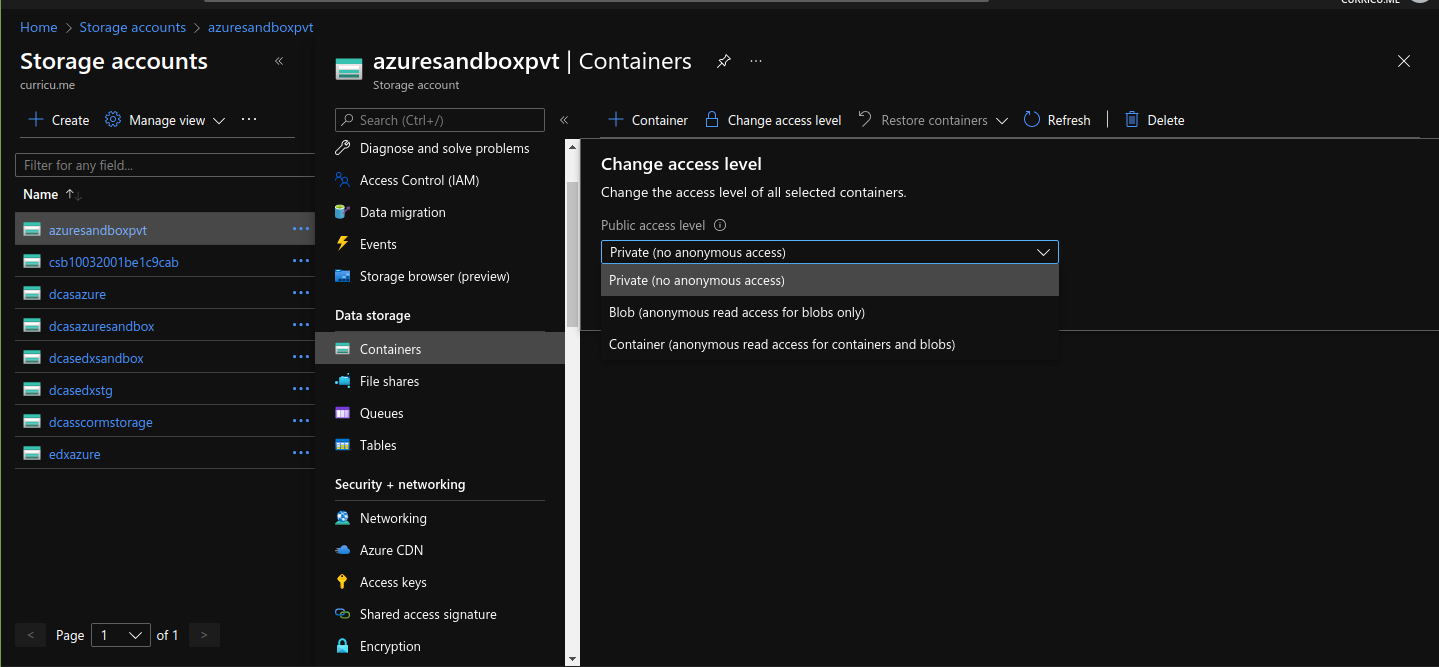
And choose “Container (anonymous read access for containers and blobs)”, and save it.
This will make your Blob Storage available to the Public but, don’t worry, in the next steps we will restrict it’s access.
Now go to the “Networking” tab of the Storage Account and choose the “Selected Networks” radio button.
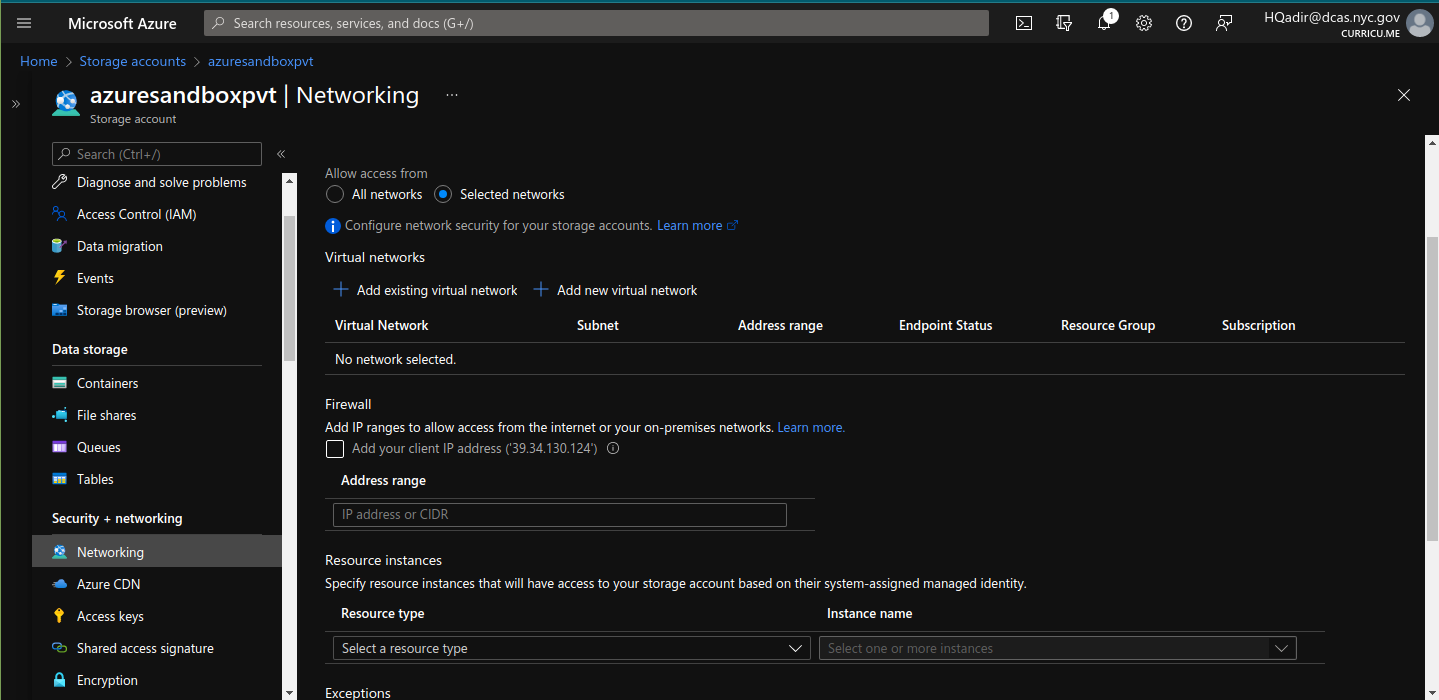
Click on “Add existing virtual network“, and select the same network as of your VM (as shown in the screenshots at the very first steps of this doc)

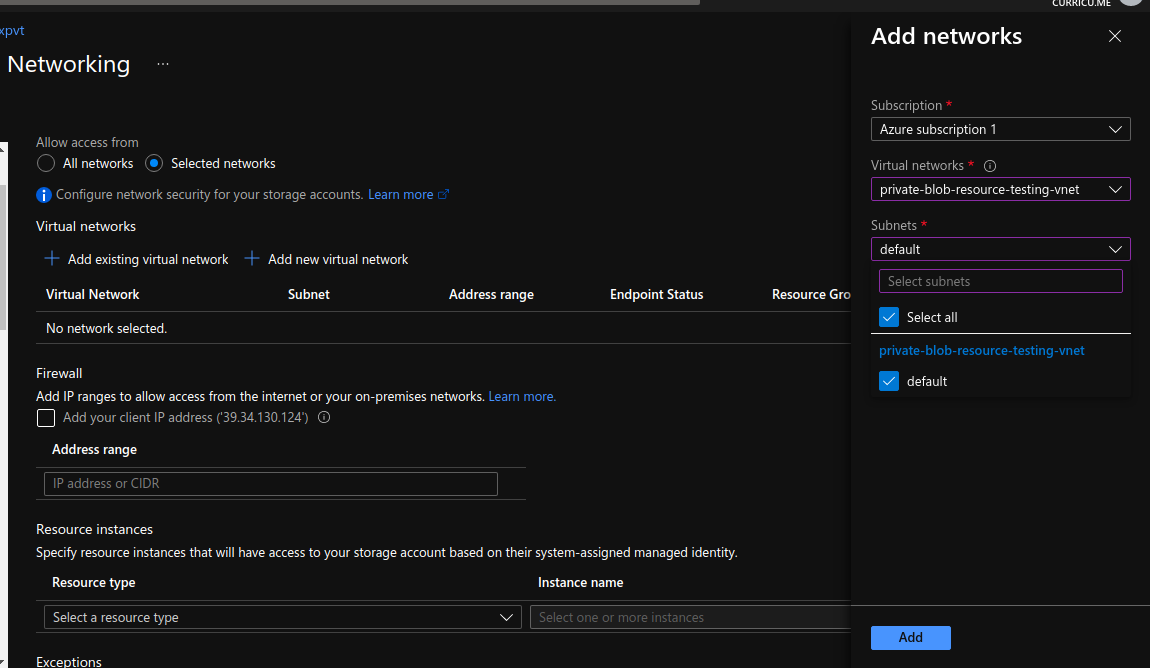
Click on the Add button, and then click on “Save” button of “Firewall and virtual networks” tab to save the settings.
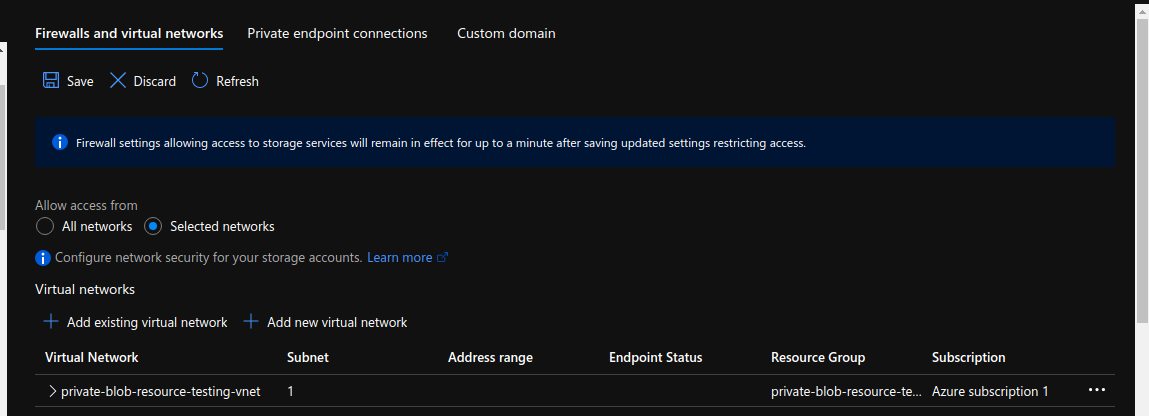
In this way, only your VM would be able to connect to your Blob, and all the Public access would be blocked.
Next, we need to configure “Private Endpoint” so that the communication can happen between VM and Storage Account.
In order to know what Private Endpoint is, please refer to this link:
https://docs.microsoft.com/en-us/azure/private-link/private-endpoint-overview
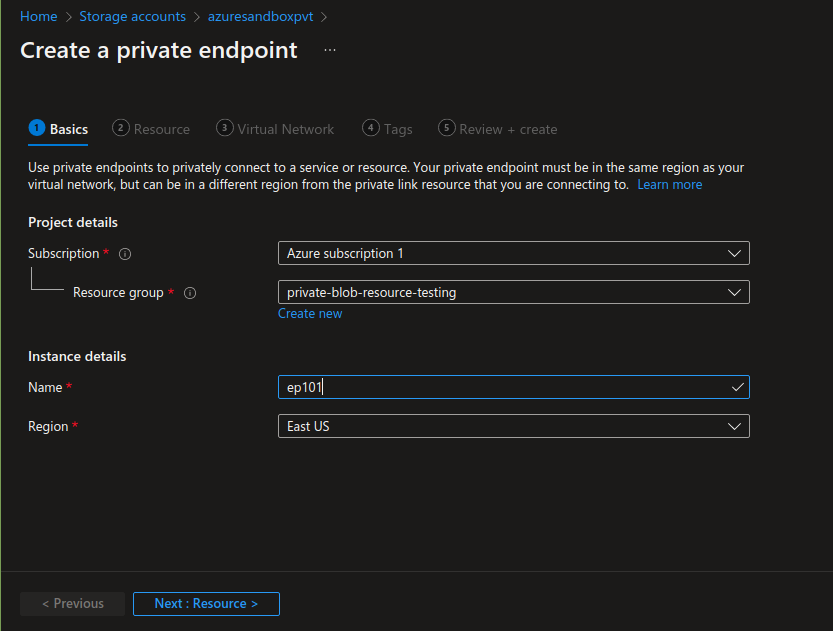
Steps to create Private Endpoint
Go to the “Network” tab (from the side pane) of Storage Account and click on “Private endpoint connections” tab.
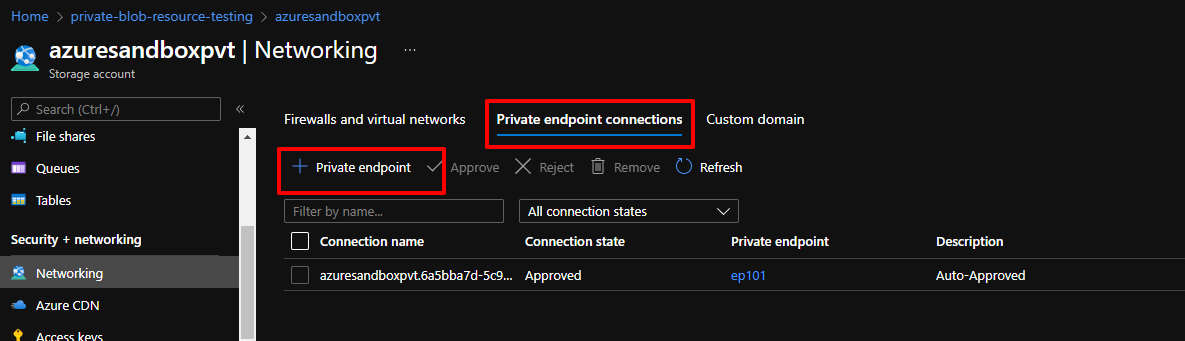
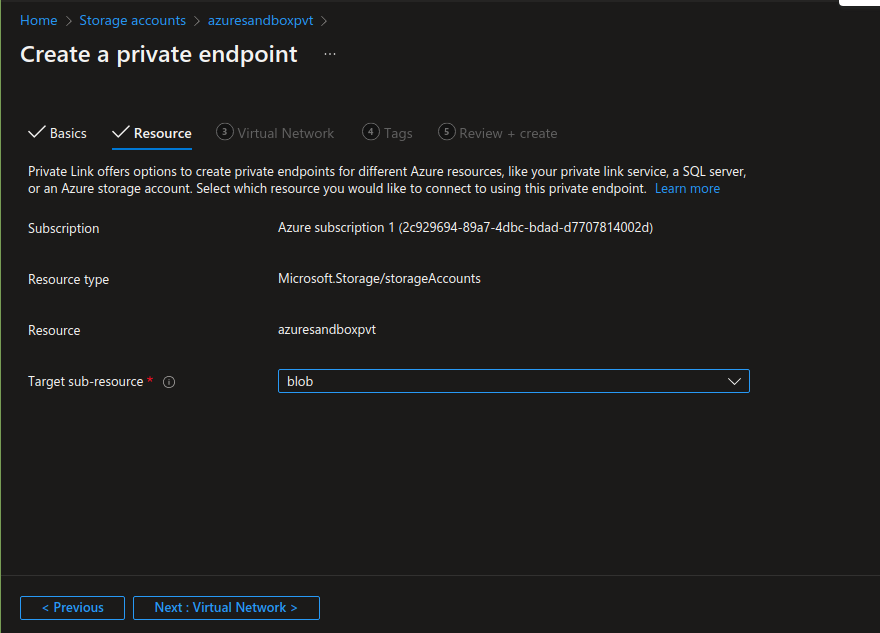
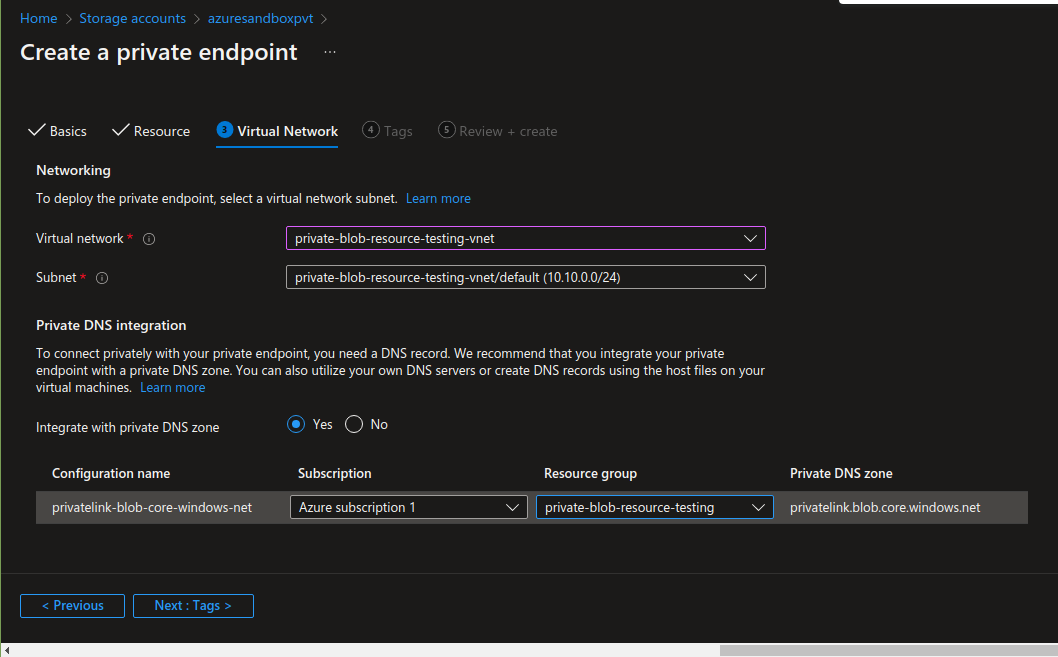
While making a Private Endpoint, the Resource Group and Virtual Network should be selected where the VM and the Storage Account is located. Select “blob” in target Sub-Resource, and use the same Resource Group in “private DNS configurations”. All settings are shown in the following screenshots:
Skip tags and then review and create the endpoint
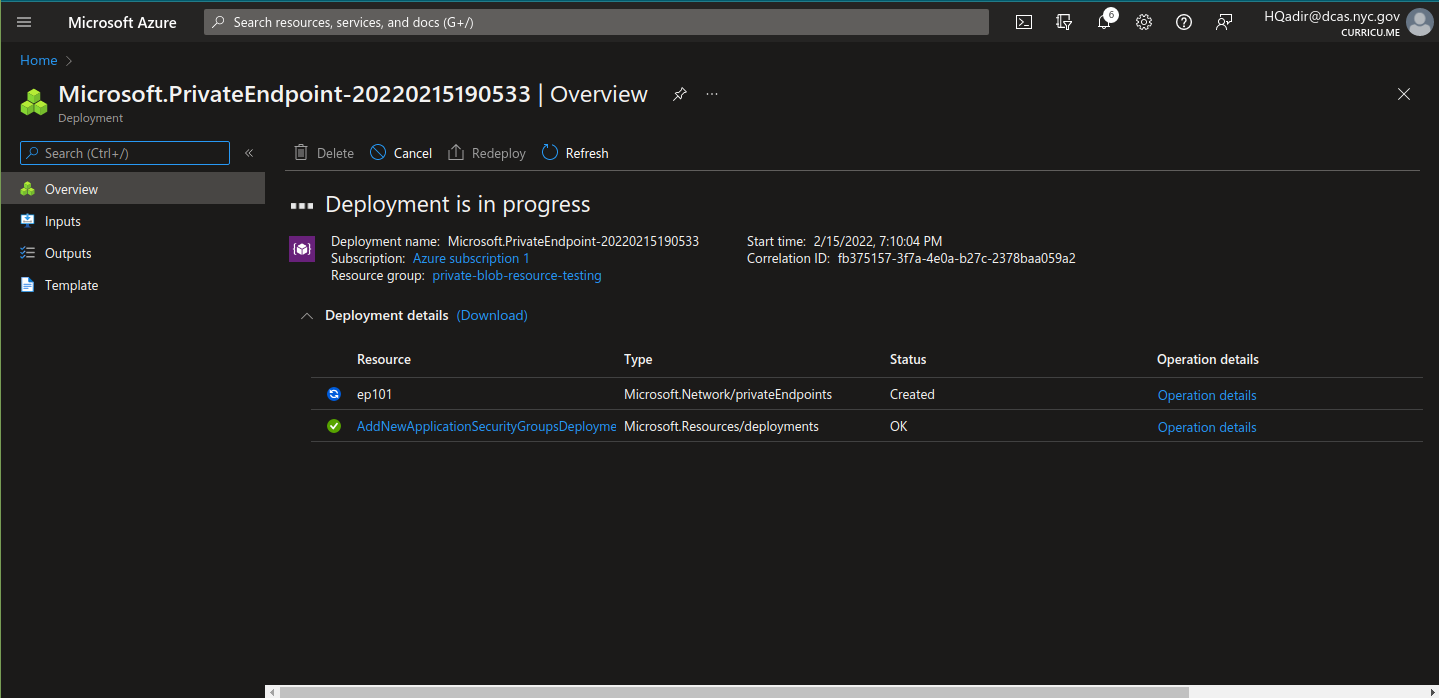
Once the deployment is done, the VM can securely connect with the Blob Storage internally. However, there are some changes that are needed on the Open edX side.
Changes on Open edX instances
So, why do we need changes on the Open edX side?
Let's consider how a basic HTML page renders. Whenever a user, hit's a URL in browser, a request goes to server, and the server returns an HTML page which can contain static contents like images, javascript files, CSS file etc. And this static content has properties for e.g. in a javascript tag, there is a "src" property which tells the browser from where it should fetch the js file. The browser then makes a request to that src link, and runs the script.
In case of AWS S3 bucket, it requests the S3 URL, and incase of a Blob, it requests a Blob URL.
Note that it's the browser who makes the request to this static resource, and the browser runs in a client machine. So whenever the browser sends a request, it takes the IP of the client machine, to fetch that resource, "NOT" the IP of the server from which the HTML page was rendered.
Which is why, we can’t use the blob URL in edX to fetch the static content, because when the page render, the IP which will call the blob URL would be client’s IP NOT the server IP.
The solution to make it work is “Reverse proxy”. We would use the server’s or in case of a Load Balancer, the Load Balancer’s IP address, to fetch the static content, and internally, we would reverse proxy all those requests from server to Remote Storage.
Time to make changes in Nginx, open the lms nginx file:
$ sudo nano /etc/nginx/sites-enabled/lms
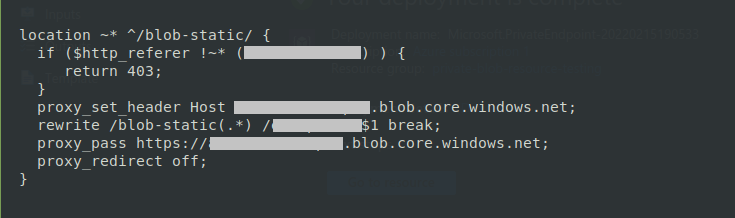
And add the following block:
  location ~* ^/blob-static/ {
    if ($http_referer !~* ([Server_IP]) ) {
       return 403;
    }
    proxy_set_header Host [AZURE_STORAGE_ACCOUNT_NAME].blob.core.windows.net;
    rewrite /blob-static(.*) /[AZURE_BLOB_NAME]$1 break;
    proxy_pass https://[AZURE_STORAGE_ACCOUNT_NAME].blob.core.windows.net;
    proxy_redirect off;
  }
Note: Please replace the [Server_IP], [AZURE_STORAGE_ACCOUNT_NAME] and [AZURE_BLOB_NAME] values respectively. Please replace [Server_IP] with your Server's IP in case of no domain. If there is a domain attached to your server please use that domain instead of the Server's IP.
In the Nginx file inside server block
Repeat the above step for the cms file as well:
$ sudo nano /etc/nginx/sites-enabled/cms
Save the changes, and restart Nginx:
$ sudo service nginx restart
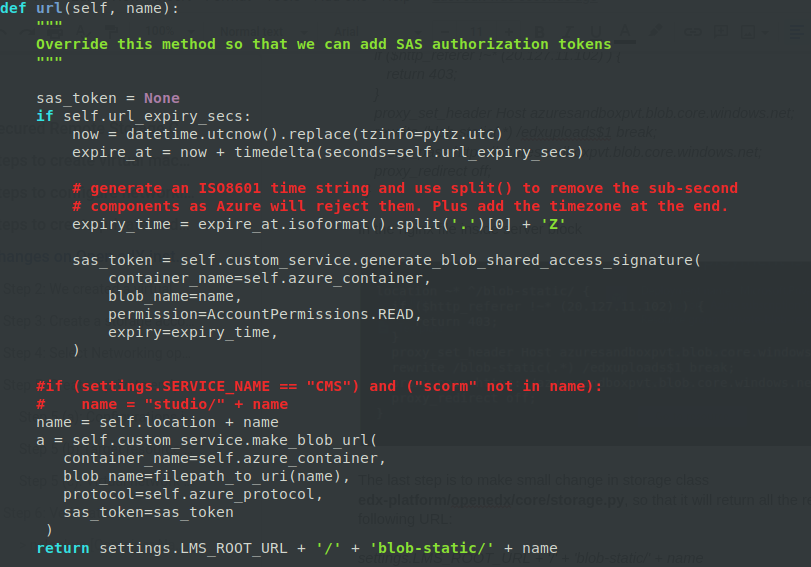
The last step is to make small change in Storage Class edx-platform/openedx/core/storage.py, so that it will return all the requests to blob to the following URL:
settings.LMS_ROOT_URL + '/' + 'blob-static/' + name

Now the AzureStorageExtended class’s url function would be:
Now let’s make changes in the yaml files. Open the lms.yml:
$ sudo nano /edx/etc/lms.yml
And change the following keys with their respective values as below:
MEDIA_ROOT: /blob-static/media/
MEDIA_URL: /blob-static/media/
STATIC_ROOT_BASE: https://[AZURE_STORAGE_ACCOUNT_NAME].blob.core.windows.net/[AZURE_BLOB_NAME]/
STATIC_URL_BASE: /blob-static/


Open the studio.yml:
$ sudo nano /edx/etc/studio.yml
And change the following keys with their respective values as below:
MEDIA_ROOT: /blob-static/media/
MEDIA_URL: /blob-static/media/
STATIC_URL: /blob-static/
STATIC_URL_BASE: /blob-static/


Save the changes, and restart lms and cms
$ sudo /edx/bin/supervisorctl restart lms cms
Note: Code is not pushed because we did testing in a separate server, and azure repos are not attached to it yet. We think, once the staging and dev are unfrozen, we will commit and push the code there, agreed?
Testing:
Test #1: Test the static content from blob URL
Let’s check this, goto a resource inside the container, copy the URL and check in the browser.
Oho….
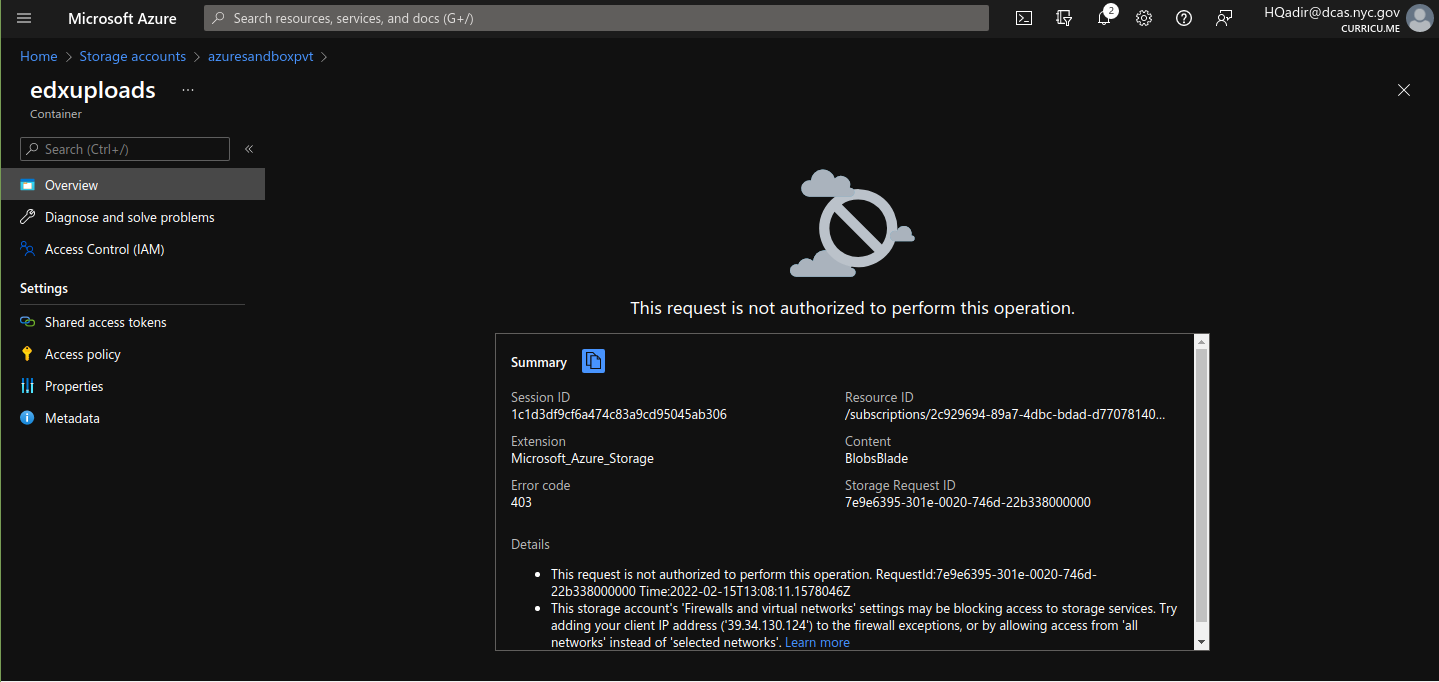
Since we have blocked all Public access, we can’t access it from azure :). Let's remove the Virtual Network, and save a URL of a resource, and then shift it back to the Virtual Network.
We’ve done it in the background, and restored the firewall to only the selected Virtual Network of the VM. Now let’s check it, and the result I got is following
Thus, we are sure that the resource is not accessible from a Public network.
Test #2: Test the static content in the server
Check the login:
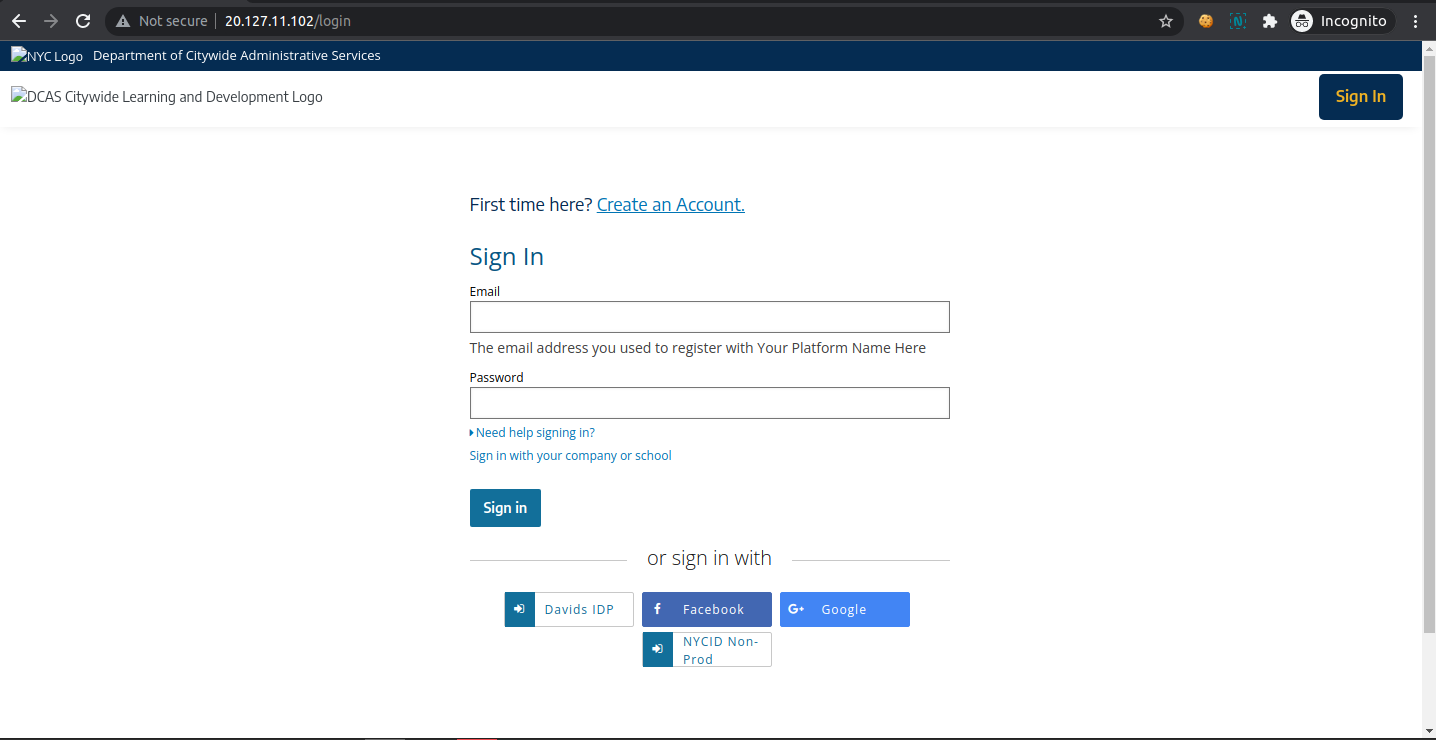
If we inspect this page, we will find:
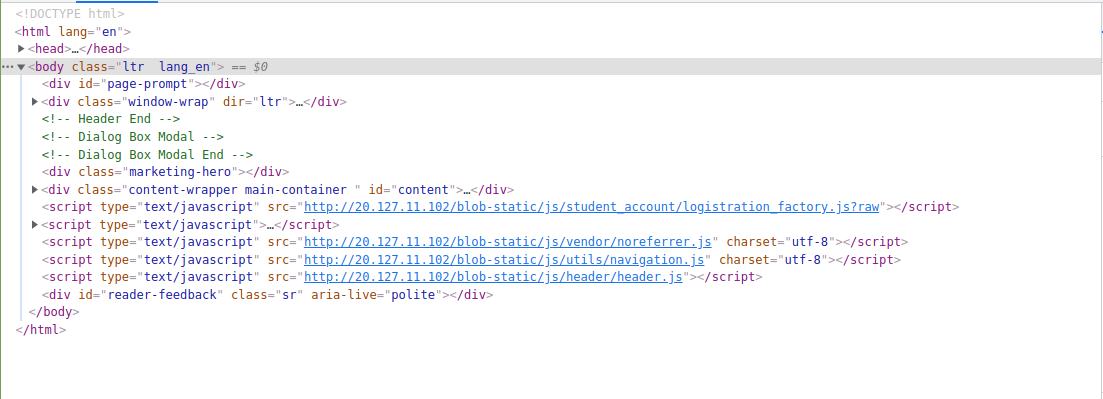
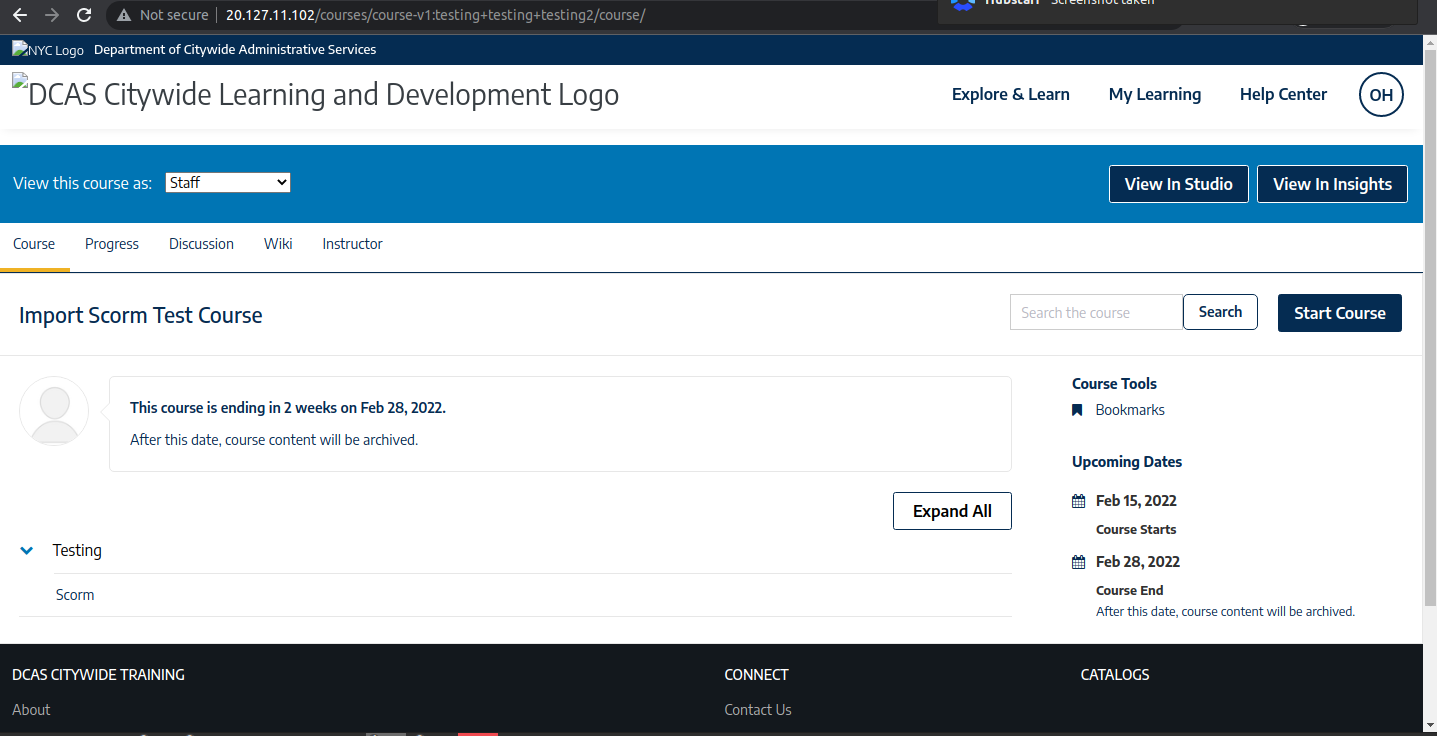
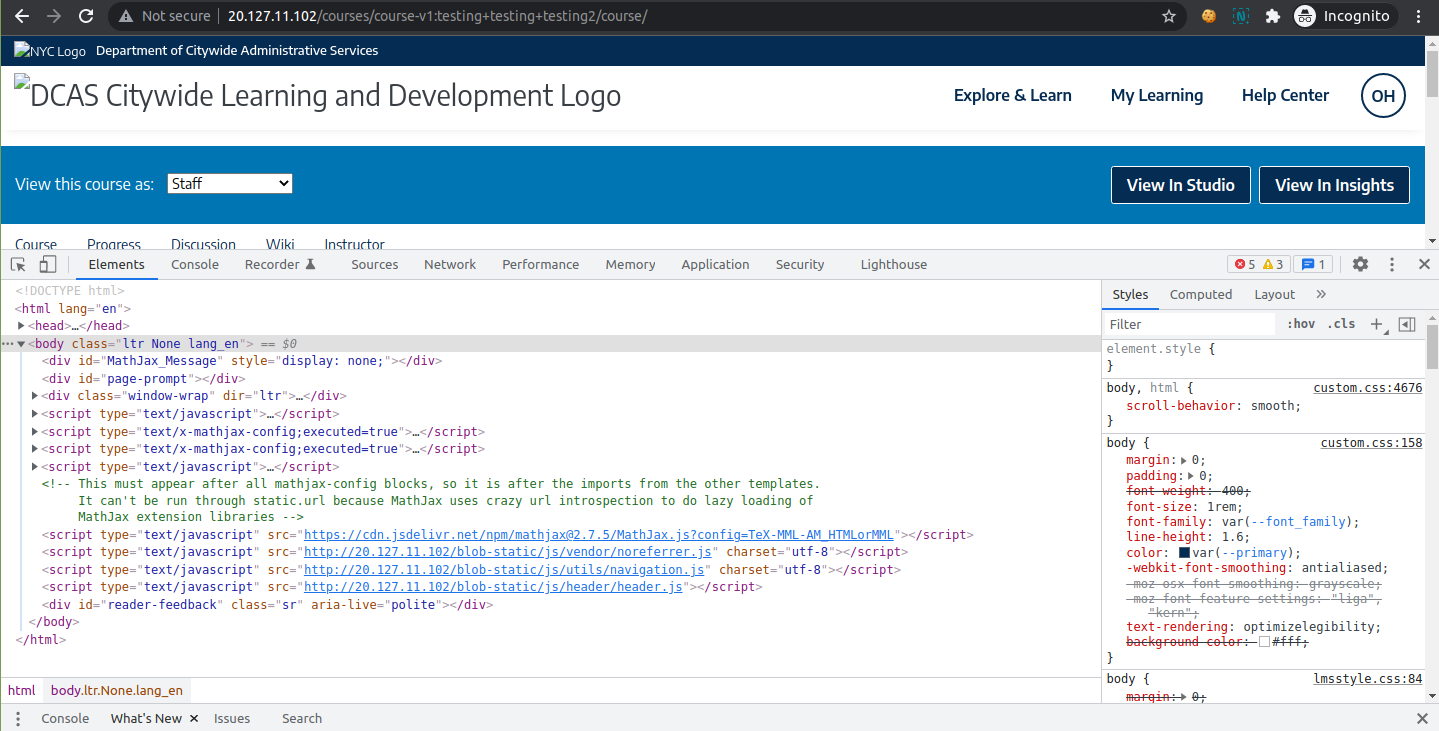
The links contain the server's IP and the content is fetched through reverse proxy. Similar is the case of logged in pages:
Test #3: Test the static content in a separate window
Now let’s copy the static URL which contains the server IP and open it in a new browser window:
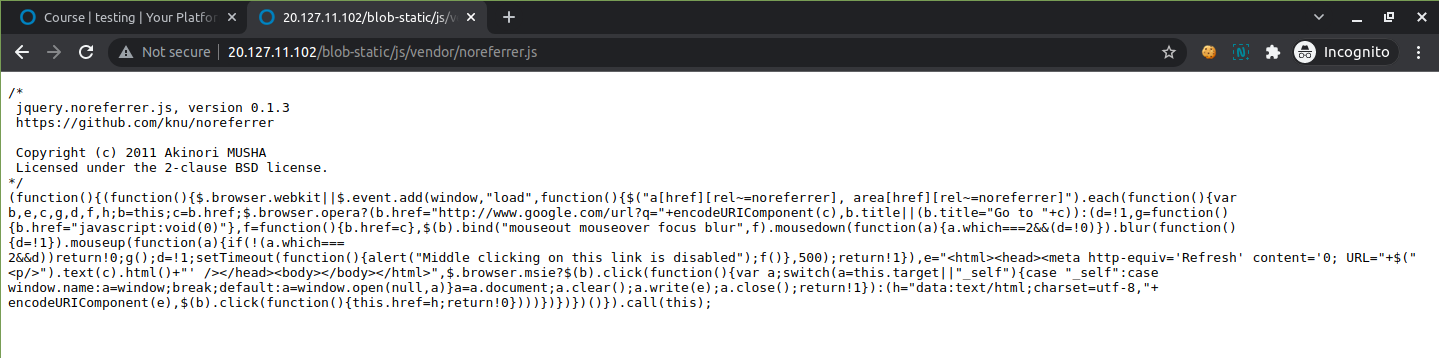
Opsss….. The content is loaded, what do we do now :(
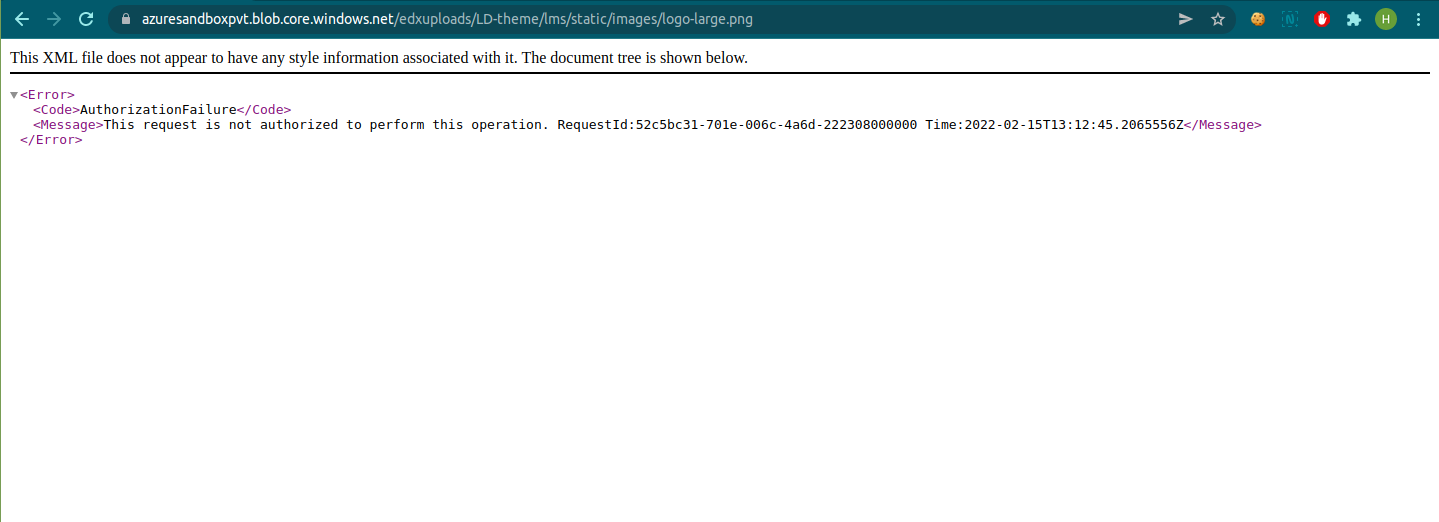
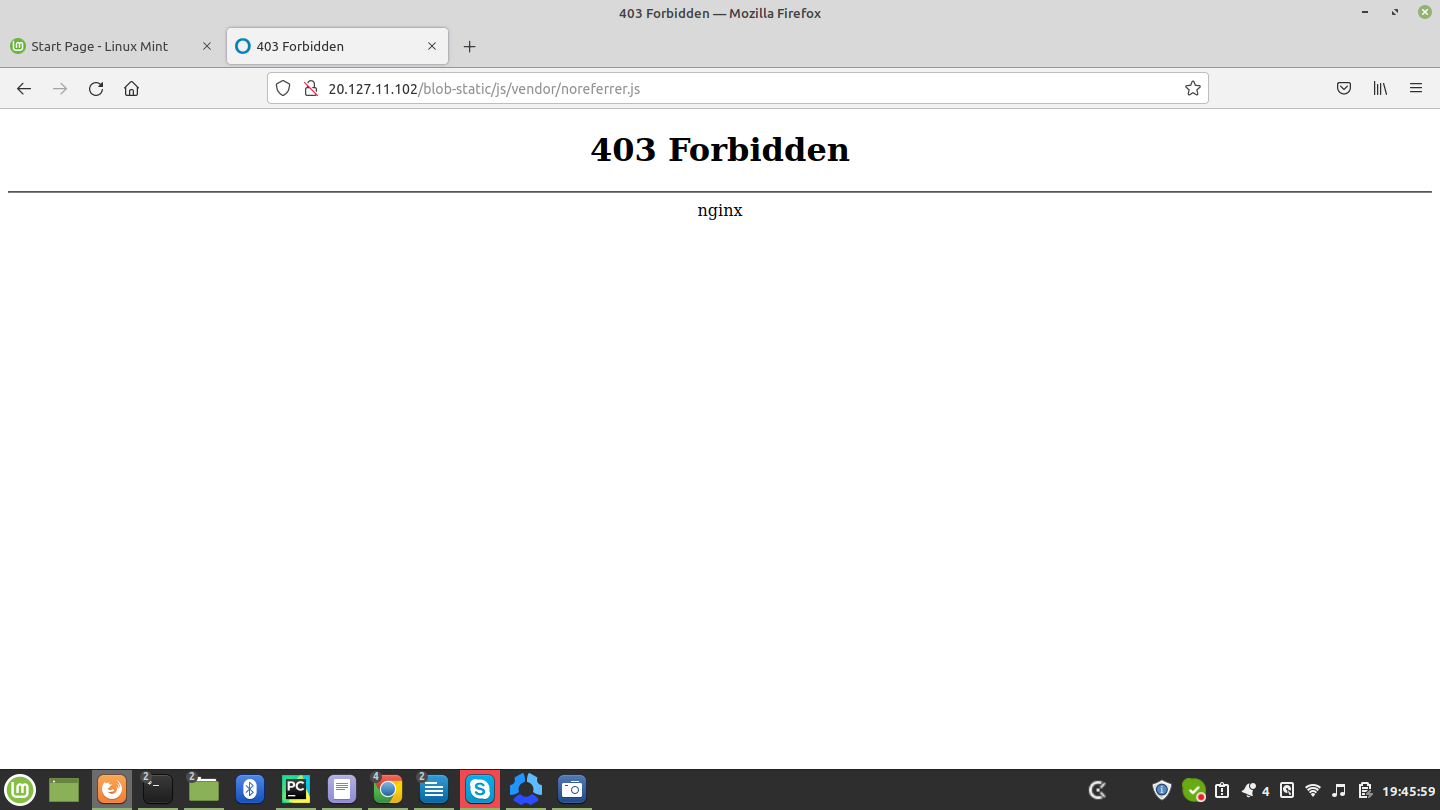
Don’t worry :) this is due to the browser cache (because you are already logged into the system in this browser), if you hard reload the same page, or open the same link in incognito, or in other browser, it will not open and results in Forbidden Error:
Reload the page
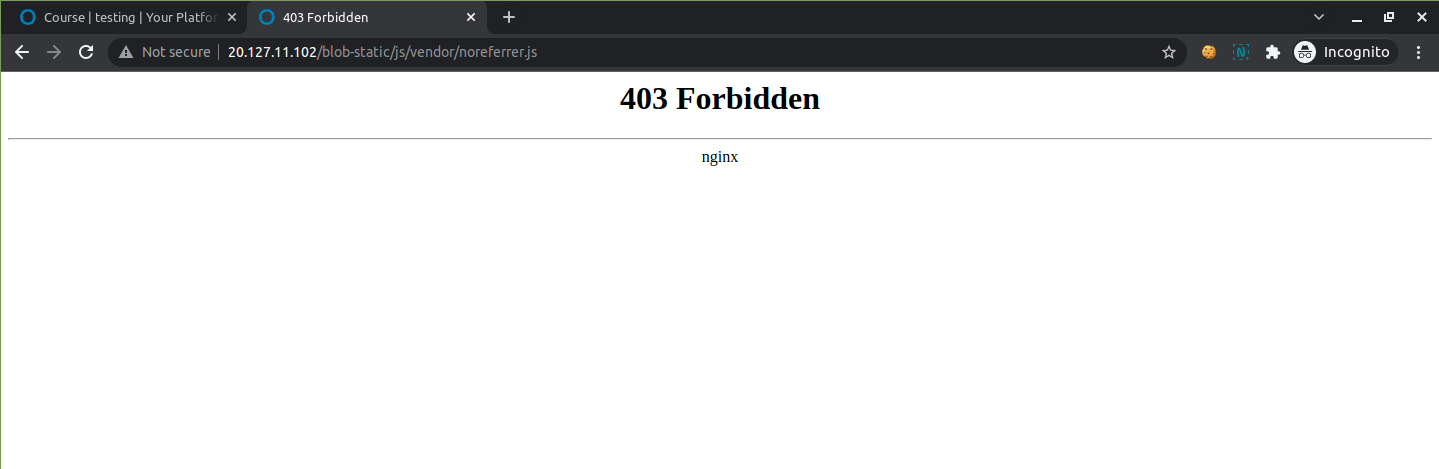
Check in different browser
Conclusion:
In this way, we have achieved the restricted access to the Remote Storage.