Getting Course Details on Checkout Page
Problem:
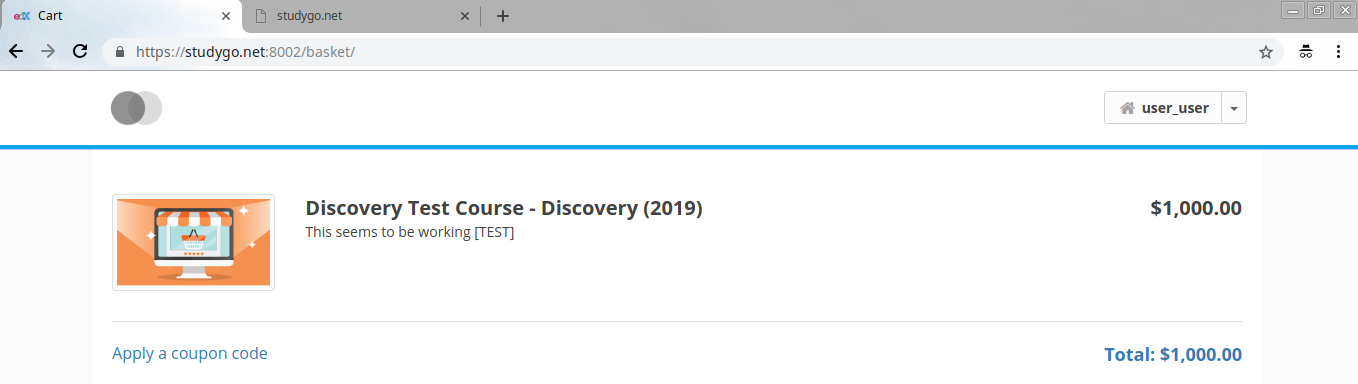
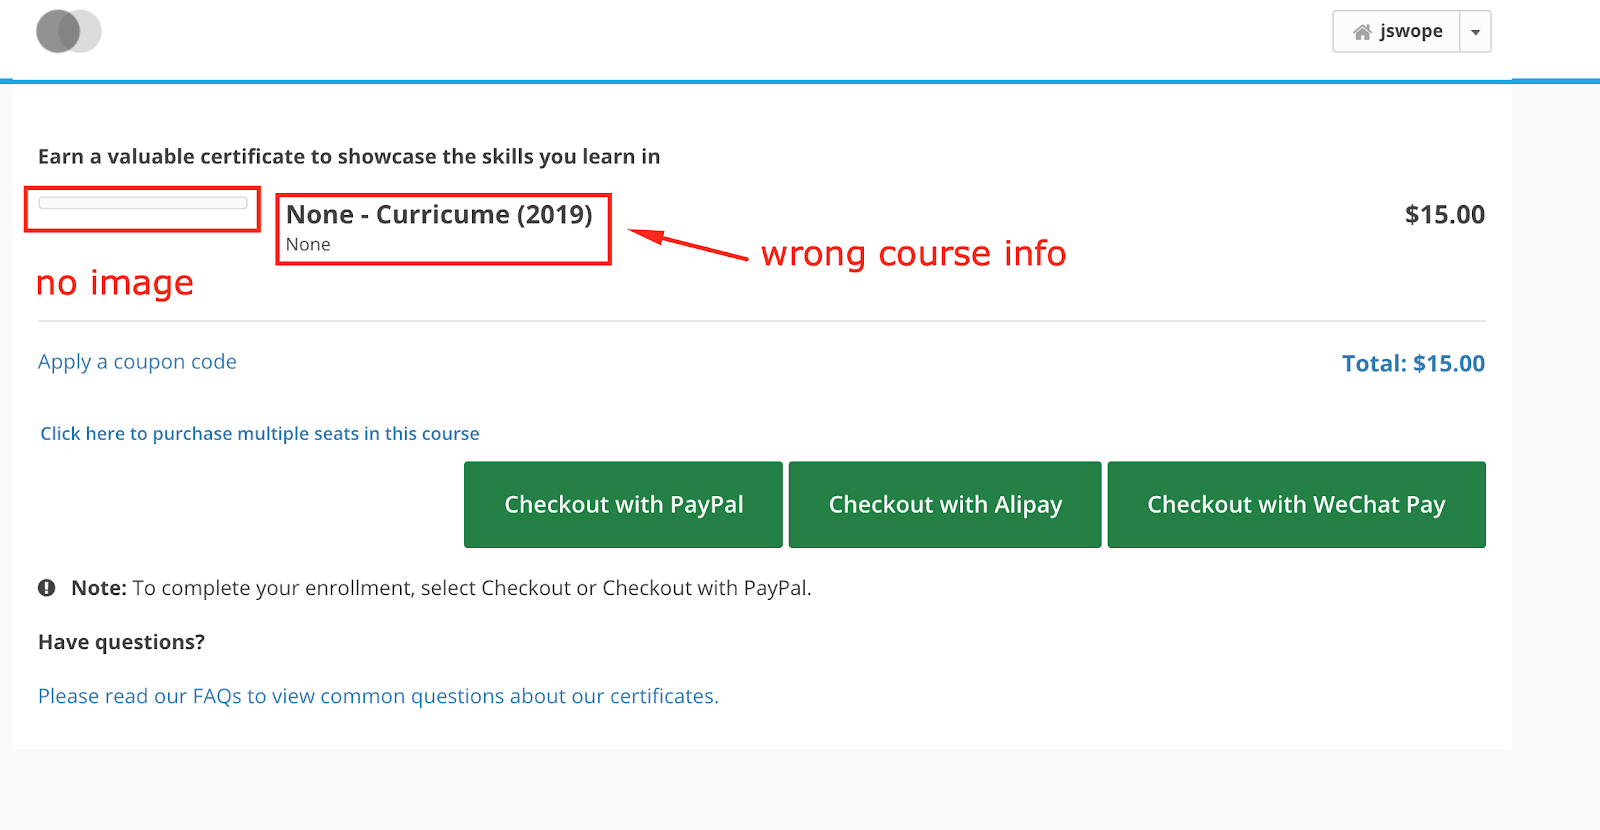
On the eCommerce Checkout Page it is noted that getting the Product Title (course name?) , Product Description and Course image requires some additional steps to perform in order to get the correct course details of that particular course on the checkout/basket page. See Screenshot for reference:
Solution:
This can be solved by making some configuration changes and executing the command, whose details are given below. Please make sure to follow them properly:
NOTE: Make sure to have everything on SSL (i.e. HTTPS enabled) and then
do the OAuth Client configuration properly for Ecommerce and Discovery
Services.
Following are the configuration example:
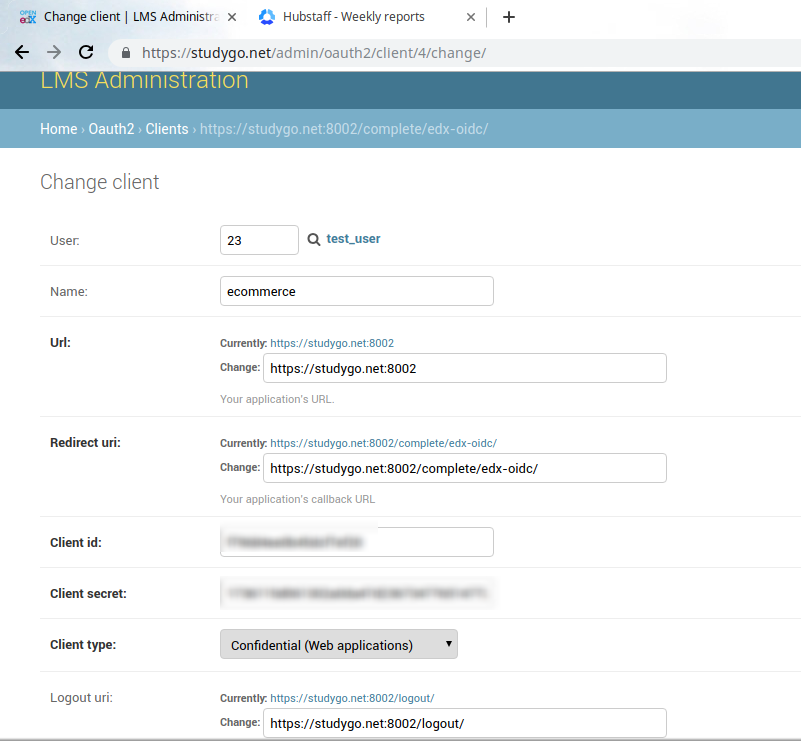
ECommerce Oauth2 Clients configuration:
Name: ecommerce
Url: https://studygo.net:8002
Redirect uri: https://studygo.net:8002/complete/edx-oidc/
Client id: your-id
Client secret: your-secret
Client type: Confidential (Web applications)
Logout uri: https://studygo.net:8002/logout/
Screenshot for reference:
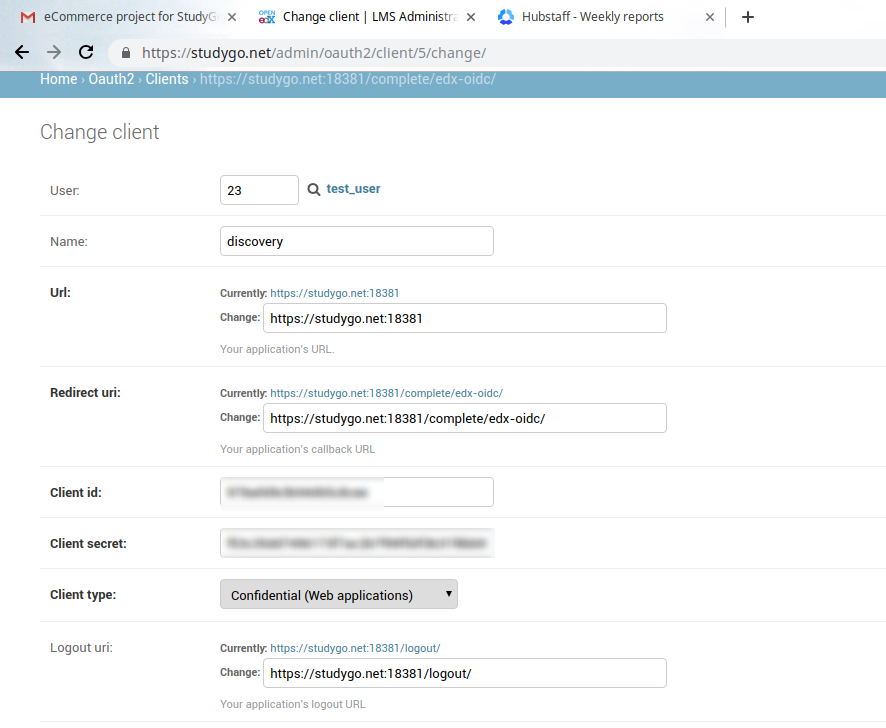
Do the OAuth2 Clients settings for Discovery as well:
Name: discovery
Url: https://studygo.net:18381
Redirect uri: https://studygo.net:18381/complete/edx-oidc/
Client id: your-id
Client secret: yout-secret
Client type: Confidential (Web applications)
Logout uri: https://studygo.net:18381/logout/
Screenshot for reference:
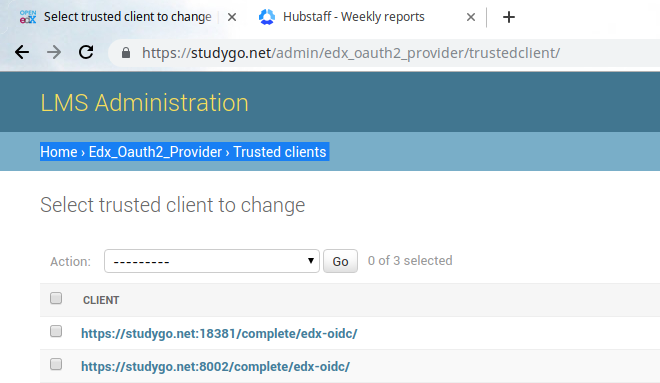
Also make sure to add these clients to the Trusted Clients:
Home › Edx_Oauth2_Provider › Trusted clients
Now, make sure to have the following key values set under the lms.env.json:
"DEFAULT_JWT_ISSUER": {
    "AUDIENCE": "Ecommerce Client Id",
    "ISSUER": "https://studygo.net/oauth2",
    "SECRET_KEY": "Ecommerce Client Secret."
    },
Here, AUDIENCE= Ecommerce Client Id and SECRET_KEY= Ecommerce Client Secret.

"JWT_AUTH": {
    "JWT_AUDIENCE": "SET-ME-PLEASE",
    "JWT_ISSUER": "https://studygo.net/oauth2",
    "JWT_ISSUERS": [
    {
        "AUDIENCE": "ecommerce Client id",
        "ISSUER": "https://studygo.net/oauth2",
        "SECRET_KEY": "ecommerce Client secret"
    }
    ],
    "JWT_SECRET_KEY": "SET-ME-PLEASE"
},
"JWT_EXPIRATION": 30,
"JWT_EXPIRED_PRIVATE_SIGNING_KEYS": [],
"JWT_ISSUER": "https://studygo.net/oauth2",
"JWT_PRIVATE_SIGNING_KEY": null,
For cms.env.json:
"DEFAULT_JWT_ISSUER": {        '
    "AUDIENCE": "SET-ME-PLEASE",
    "ISSUER": "https://studygo.net/oauth2",
    "SECRET_KEY": "SET-ME-PLEASE"
    },
    "JWT_AUTH": {
        "JWT_AUDIENCE": "SET-ME-PLEASE",
        "JWT_ISSUER": "https://studygo.net/oauth2",
        "JWT_ISSUERS": [
            {
            "AUDIENCE": "ecommerce Client Id",
            "ISSUER": "https://studygo.net/oauth2",
            "SECRET_KEY": "ecommerce Client secret"
            }
        ],
        "JWT_SECRET_KEY": "SET-ME-PLEASE"
        },
        "JWT_EXPIRATION": 30,
        "JWT_EXPIRED_PRIVATE_SIGNING_KEYS": [],
        "JWT_ISSUER": "https://studygo.net/oauth2",
        "JWT_PRIVATE_SIGNING_KEY": null,
Do the following under the **ecommerce.yml **(/edx/etc/ecommerce.yml):
NOTE: Please set these URLs according to your URLs (These are for example):
ECOMMERCE_URL_ROOT: https://studygo.net:8002
OAUTH2_USER_INFO_URL: https://studygo.net/oauth2/user_info
ENTERPRISE_SERVICE_URL: https://studygo.net/enterprise/
SOCIAL_AUTH_EDX_OIDC_ID_TOKEN_DECRYPTION_KEY: ecommerce Client secret
SOCIAL_AUTH_EDX_OIDC_ISSUER: https://studygo.net/oauth2
SOCIAL_AUTH_EDX_OIDC_KEY: ecommerce Client id
SOCIAL_AUTH_EDX_OIDC_LOGOUT_URL: https://studygo.net/logout
SOCIAL_AUTH_EDX_OIDC_PUBLIC_URL_ROOT: https://studygo.net/oauth2
SOCIAL_AUTH_EDX_OIDC_SECRET: ecommerce Client secret
SOCIAL_AUTH_EDX_OIDC_URL_ROOT: https://studygo.net/oauth2
SOCIAL_AUTH_REDIRECT_IS_HTTPS: false
Go to discovery.yml file and make sure to modify the **discovery.yml **to match the JWT_Auth settings as that of the ECommerce:
Located at (/edx/etc/discovery.yml)

Set the above with the values Here, AUDIENCE= Ecommerce Client Id and SECRET_KEY= Ecommerce Client Secret and keep the OAuth Client Id and Client Secret of discovery client created initially into **SOCIAL_\*** settings under this file:

Restart ecommerce and discovery services:
sudo /edx/bin/supervisorctl restart ecommerce ecomworker discovery
Now, make sure to execute the following commands whenever you add a new course from the course administration tool on ecommerce platform:
Switch the user to discovery, activate the virtual environment for discovery:
ubuntu@ip-172-31-7-29:~$ sudo su discovery -s /bin/bash
discovery@ip-172-31-7-29:/home/ubuntu$ cd
discovery@ip-172-31-7-29:~$ source discovery_env
discovery@ip-172-31-7-29:~$ cd discovery/

discovery@ip-172-31-7-29:~$ ./manage.py refresh_course_metadata --partner_code edX
NOTE: Please make sure to give the correct partner_code this is what you must have already defined while creating ecommerce site.
See Example (This command is to be run initially while setting up the ecommerce, mentioning here, just for reference):
python manage.py create_or_update_site \
    --site-id=1 \
    --site-domain=studygo.net:8002 \
    --partner-code=edX \
    --partner-name='Open edX' \
    --lms-url-root=https://studygo.net \
    --payment-processors=wechatpay \
    --client-id=ecommerce-key \
    --client-secret=ecommerce-secret \
    --from-email=uahmed.knysys@gmail.com \
    --discovery_api_url=https://studygo.net:18381/
Then, continue with executing the following command:
discovery@ip-172-31-7-29:~/discovery$ ./manage.py update_index --disable-change-limit
Now, there are some details that you have to input using the 'Discovery Service Administration':
Filling the details, will serve the Product Description and Course Card Image on the Basket/Checkout Page:
Go to https://your-discovery-url/admin/course_metadata/course/
Home › Course Metadata › Courses › Your Course
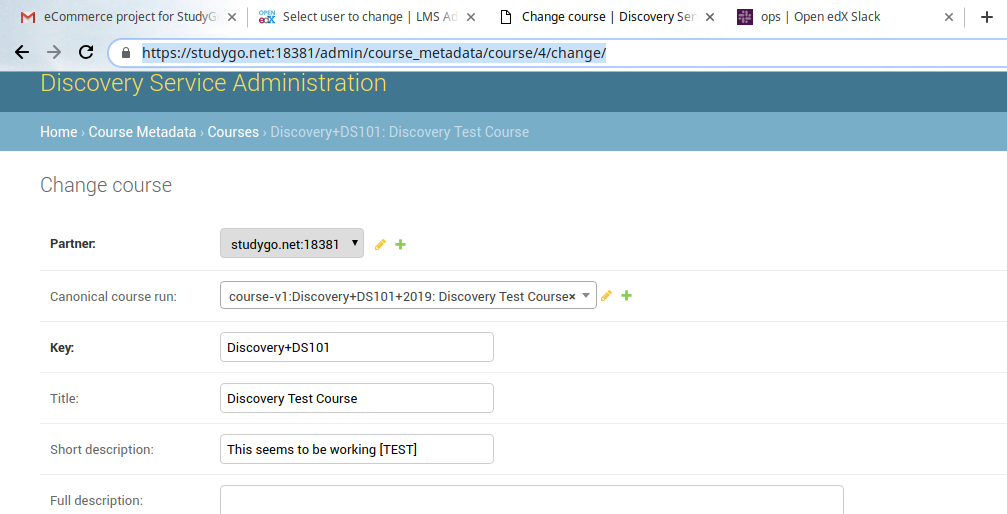
In this form, scroll down and you will see another field as Card image url:
In this field, we have give the image asset URL:
For e.ghttps://studygo.net/asset-v1:Discovery+DS101+2019+type@asset+block@ecommerce.png
Then, test the basket page and you will get the page populated with the data.