Adding Images and Figures
Single Image
Course creators can add images and captions (or figures) within a body of text to illustrate a concept. It is possible to add a single image, two images in a table, or three images in a table.
In Edx Studio, navigate to the Unit where you would like to add images.
Click add New Component, and select HTML.
Choose “Text”, and then click “Edit”, and then click “Edit HTML” on the far right side.

Now you can edit the HTML source code using the code examples below.
Before you begin, delete the
<p></p>sample code.
Adding a Single Image
See code below, fill in the blue text, leave black text as is:
<p>Write your main paragraph here.... / Escribe tu párrafo principal aquí...</p> <h3>Header 1: </h3> <p>Write your first paragraph here / Escribe su primer párrafo aquí.</p> <figure><img src="Copy the image link from Files & Uploads and paste here" width="670" height="346" /><figcaption> <p style="font-size: 12px;">Fig. 1: Type your figure or image caption here.</p> </figcaption></figure> <h3>Header 2: </h3> <p>Write your second paragraph here / Escriba su segundo párrafo aquí</p> <p>This paragraph will start on a new line / Este párrafo se iniciará en una nueva línea </p> <p></p>Note that an approx. Width of 670 and Height of 346 is the recommended size for a single image. This may change depending on the size of the images you’re working with.
Below is an example of code with a header, paragraph, one image, and a figure:
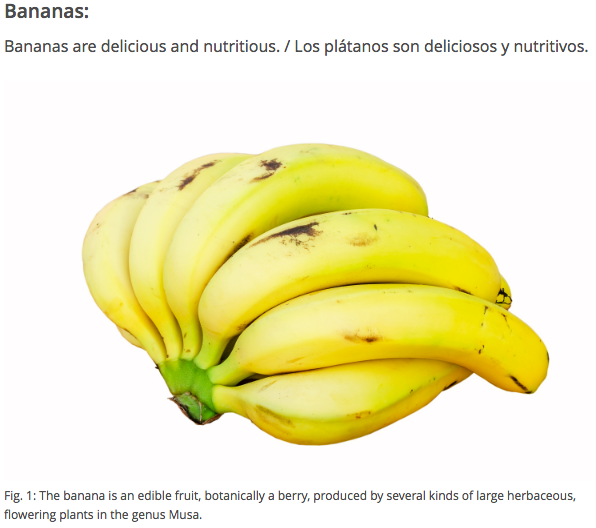
<p>Bananas are delicious and nutritious. / Los plátanos son deliciosos y nutritivos.</p>
<figure><img src="/static/Bananas.jpg" alt="Theses are bananas"
width="600" height="400" />
<figcaption>
<p style="font-size: 12px;">Fig. 1: The banana is an edible fruit, botanically a berry, produced by several kinds of large herbaceous, <br> flowering plants in the genus Musa.</p>
</figcaption></figure>
This is the result:
Adding Two Images in a Table
See code below, fill in the blue text, leave black text as is:
<p>Write your first paragraph here.... / Escribe tu primer párrafo aquí...</p> <table> <tbody> <tr> <td style="border-style: none;"> <figure><img src="Copy the link for your first image from Files & Uploads and paste here" width="292" height="228" /><figcaption> <p style="font-size: 12px;">Fig. 1: Type your first figure or image caption here.</p> </figcaption></figure> </td> <td style="border-style: none;"> <figure><img src="Copy link for your second image link from Files & Uploads and paste here" type="saveimage" target="[object Object]" width="291" height="228" /><figcaption> <p style="font-size: 12px;">Fig. 2: Type your second figure or image caption here.</p> </figcaption></figure> </td> </tr> </tbody> </table> <h3>Sub Header: </h3> <p>Write your second paragraph here / Escriba su segundo párrafo aquí</p> <p>This paragraph will start on a new line / Este párrafo se iniciará en una nueva línea </p> <p></p>Below is an example of code with a header, three paragraphs, two images, two figures, a subheader:
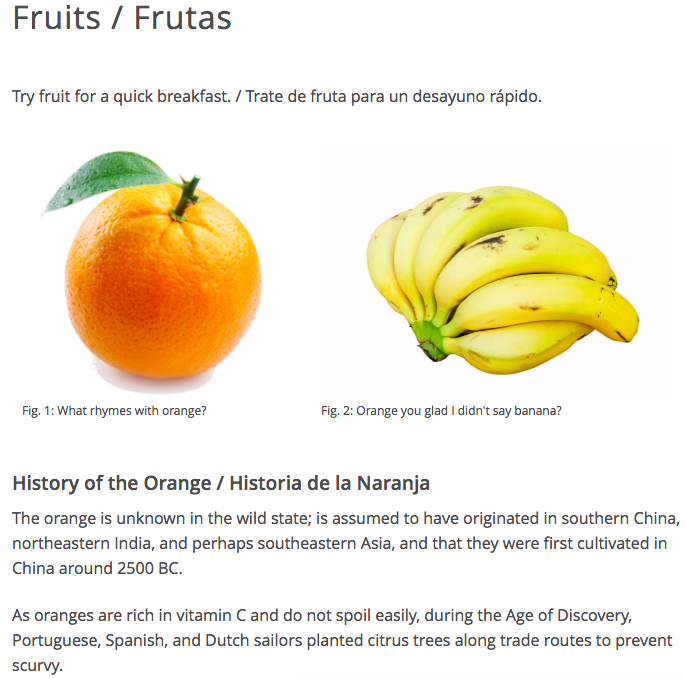
<p>Try fruit for a quick breakfast. / Trate de fruta para un desayuno rápido.</p> <table> <tbody> <tr> <td style="border-style: none;"> <figure><img src="/static/orange-02.jpg" width="265" height="255" /><figcaption> <p style="font-size: 12px;">Fig. 1: What rhymes with orange?</p> </figcaption></figure> </td> <td style="border-style: none;"> <figure><img src="/static/Bananas.jpg" width="350" height="250" /><figcaption> <p style="font-size: 12px;">Fig. 2: Orange you glad I didn't say banana?</p> </figcaption></figure> </td> </tr> </tbody> </table> <p></p> <h3>History of the Orange / Historia de la Naranja</h3> <p>The orange is unknown in the wild state; is assumed to have originated in southern China, northeastern India, and perhaps southeastern Asia, and that they were first cultivated in China around 2500 BC.</p> <p>As oranges are rich in vitamin C and do not spoil easily, during the Age of Discovery, Portuguese, Spanish, and Dutch sailors planted citrus trees along trade routes to prevent scurvy.</p> <p></p>This is the result:
Adding Three Images in a Table
See code below, fill in the blue text, leave black text as is:
<tbody> <tr> <td style="border-style: none;"> <figure><img src="Copy the link for your first image from Files & Uploads and paste here" width="250" height="167" /><figcaption> <p style="font-size: 12px;">Fig. 1: Type your second figure or image caption here.</p> </figcaption></figure> </td> <td style="border-style: none;"> <figure><img src="Copy the link for your second image from Files & Uploads and paste here" width="210" height="129" /><figcaption> <p style="font-size: 12px;">Fig. 2: Type your second figure or image caption here.</p> </figcaption></figure> </td> <td style="border-style: none;"> <figure><img src="Copy the link for your third image from Files & Uploads and paste here" width="258" height="194" style="margin-right: 30px; margin-left: 30px;" /><figcaption> <p style="font-size: 12px;">Fig. 3: Type your second figure or image caption here.</p> </figcaption></figure> </td> </tr> </tbody> </table>Below is an example of code with a header, a paragraph, three images, and three figures:
<p>Eat, eat, eat apples and bananas. / Comer, comer, comer manzanas y plátanos.</p> <table> <tbody> <tr> <td style="border-style: none;"> <figure><img src="/static/apple.jpg" width="250" height="167" /><figcaption> <p style="font-size: 12px;">Fig. 1: These apples are red.</p> </figcaption></figure> </td> <td style="border-style: none;"> <figure><img src="/static/orange-02.jpg" width="210" height="195" /><figcaption> <p style="font-size: 12px;">Fig. 2: This orange is orange.</p> </figcaption></figure> </td> <td style="border-style: none;"> <figure><img src="/static/Bananas.jpg" width="258" height="194" /><figcaption> <p style="font-size: 12px;">Fig. 3: These bananas are yellow.</p> </figcaption></figure> </td> </tr> </tbody> </table>This is the result:
