Enable and Update Additional Languages
These instructions will allow you to enable additional languages. The second part of the instructions detail how to keep them updated if you make a change to the default language (English) in the platform and need to update your translations.
Part 1: Sign up for Transifex and get Credentials
1. Go to the Transifex Site
Go to the following link: https://www.transifex.com/projects/p/edx-platform/
This page would be displayed:
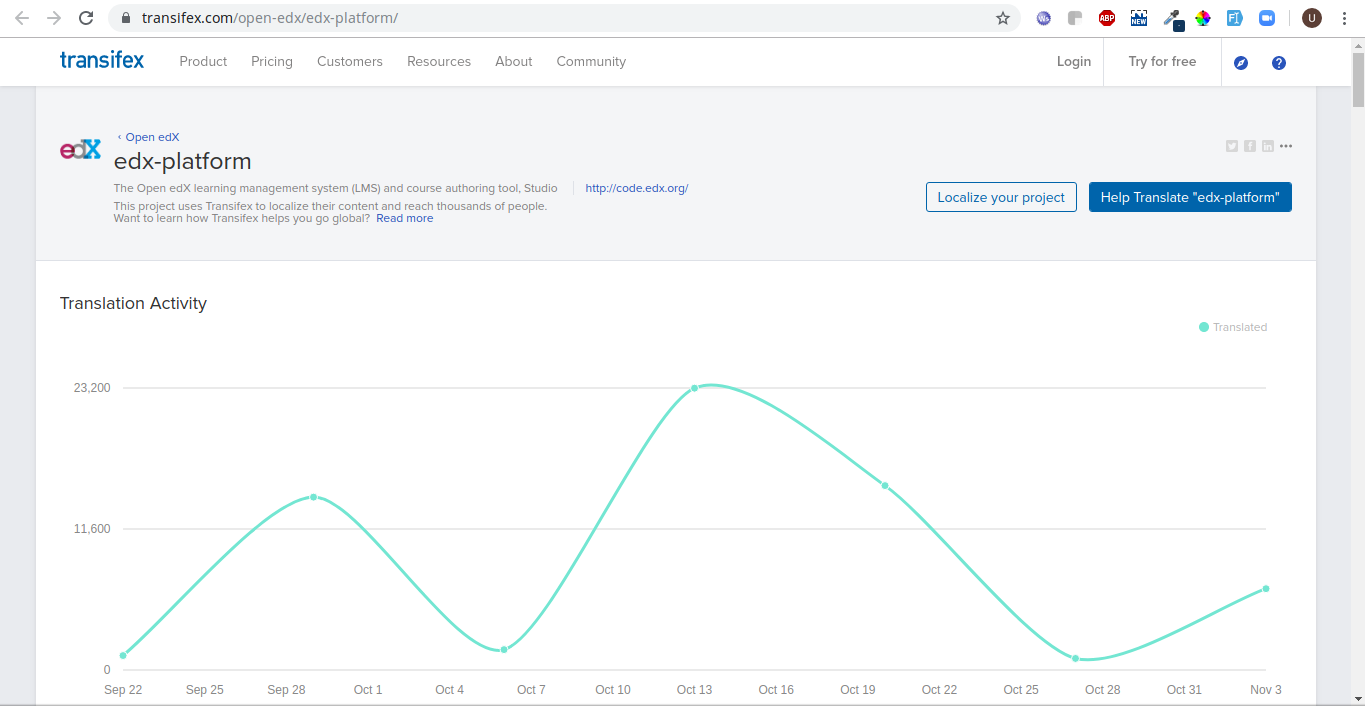
Click on "Localize your project" button on top of the screen. This will take you to "Sign Up":
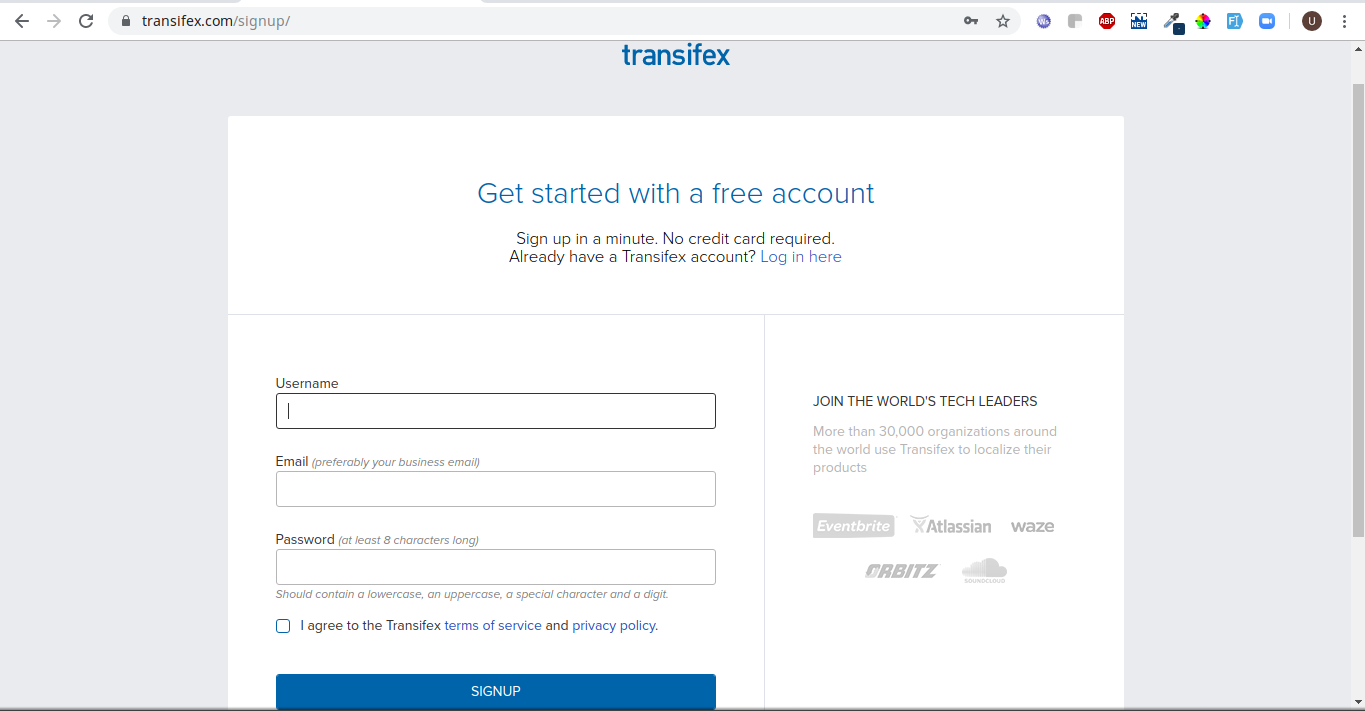
Create your account here and note down your username and password.
Now, give some details. Make sure to Join an existing project.
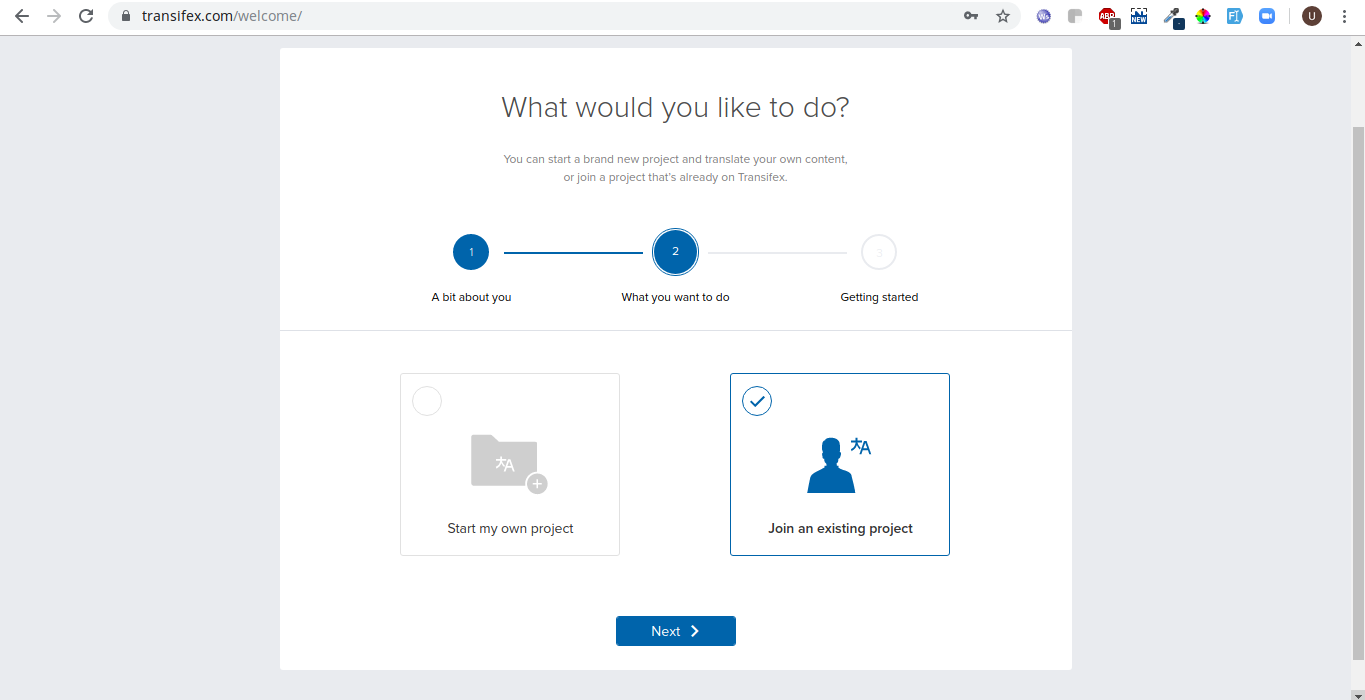
Complete the form. You will get the activation link on your provided email.
Activate your account.
After activating your account, make sure to join edx-platform project as a translator (https://www.transifex.com/projects/p/edx-platform/).
Then, go to User Settings from Profile Menu:
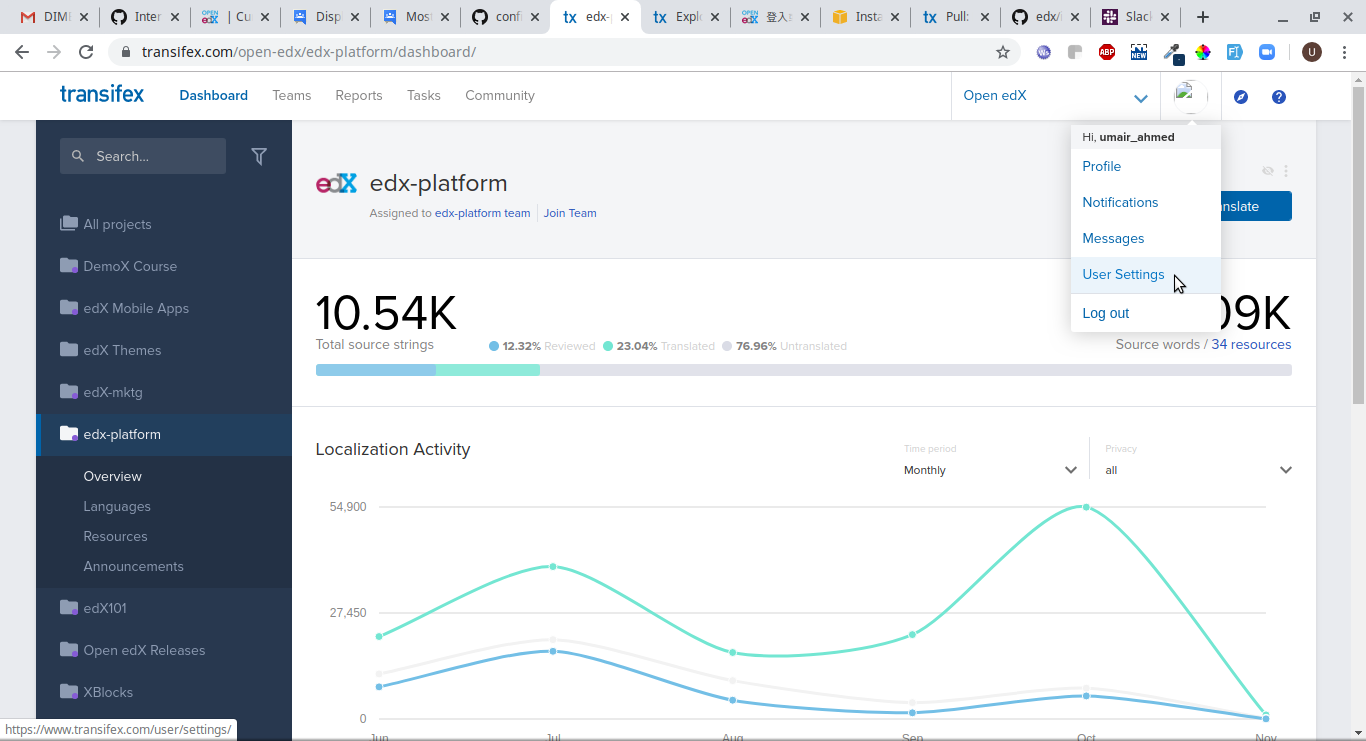
Select User Settings.
Select the API token from the left menu and then click on "Generate a token":
Copy the generated API token to somewhere safely as it only gives one time option to copy the Token. Otherwise, you will have to generate a new one.
2. Add your Transifex credentials to your Open EdX Instance
SSH into the server where the edX is deployed.
Once logged in, issue the following commands:
sudo -H -u edxapp bash
cd
source /edx/app/edxapp/edxapp_env
Create a new file ~/.transifexrc using editor (for e.g. nano ~/.transifexrc) and then configure your file with the following content:
[https://www.transifex.com]
hostname = https://www.transifex.com
username = your_username
password = your_password
token = API_token_that_you_generated
Make sure to put the correct username, password and token then save and close the file.
3. Install the transifex client on the server
Run the following command:
sudo apt-get install transifex-client

Part 2: Pull The Latest Translations from Transifex
1. Enable the languages you want in the config.yaml file
Edit the following file: conf/locale/config.yaml
Make sure the languages you wish to download are present and uncommented.
For example for Japanese and Chinese, make sure your config.yaml file looks like this:
Locales:
    - ja_JP  # Japanese (Japan)
    - zh_CN  # Chinese (China)
Here is an example of Japanese left uncommented:
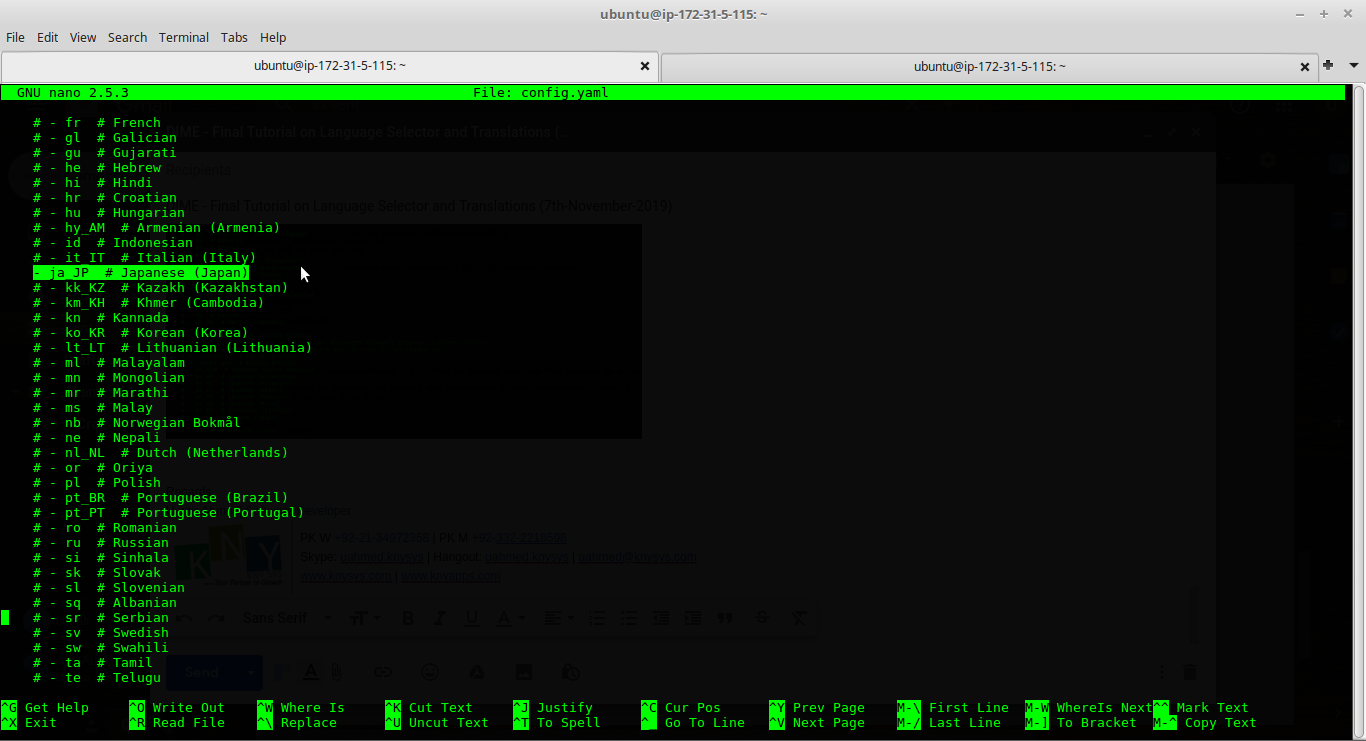
Save and Close the config.yaml file.
2. Pull languages from Transifex
The following command will pull the reviewed translations for the languages that are present and we have uncommented in config.yaml file in the earlier step.
If you need to switch to the edxapp user:
sudo -H -u edxapp bash
source /edx/app/edxapp/edxapp_env
cd /edx/app/edxapp/edx-platform
To pull the translations:
paver i18n_robot_pull --settings aws

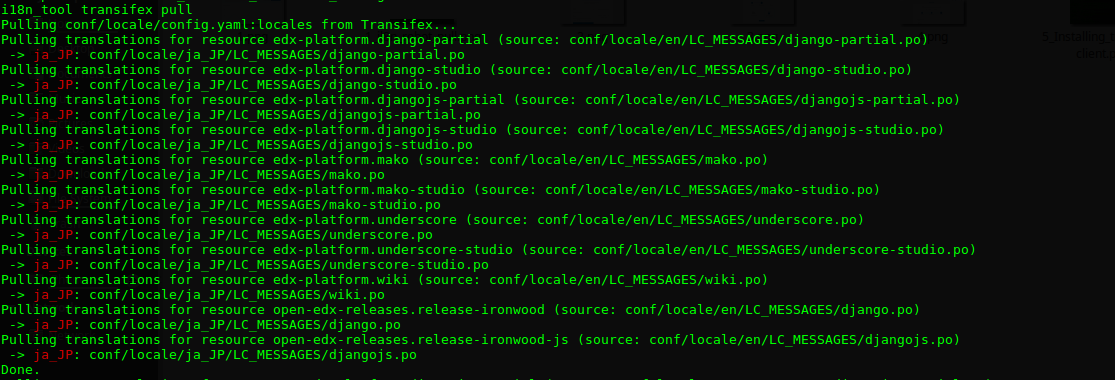
It will take a minute or two and before completion, it will ask for auto committing the translation and config files.
In case, you have a proper repository already setup on the platform then press 'y'. If not then press'n'. You can manually add the files to repository later.
Part 3: Enable your Languages
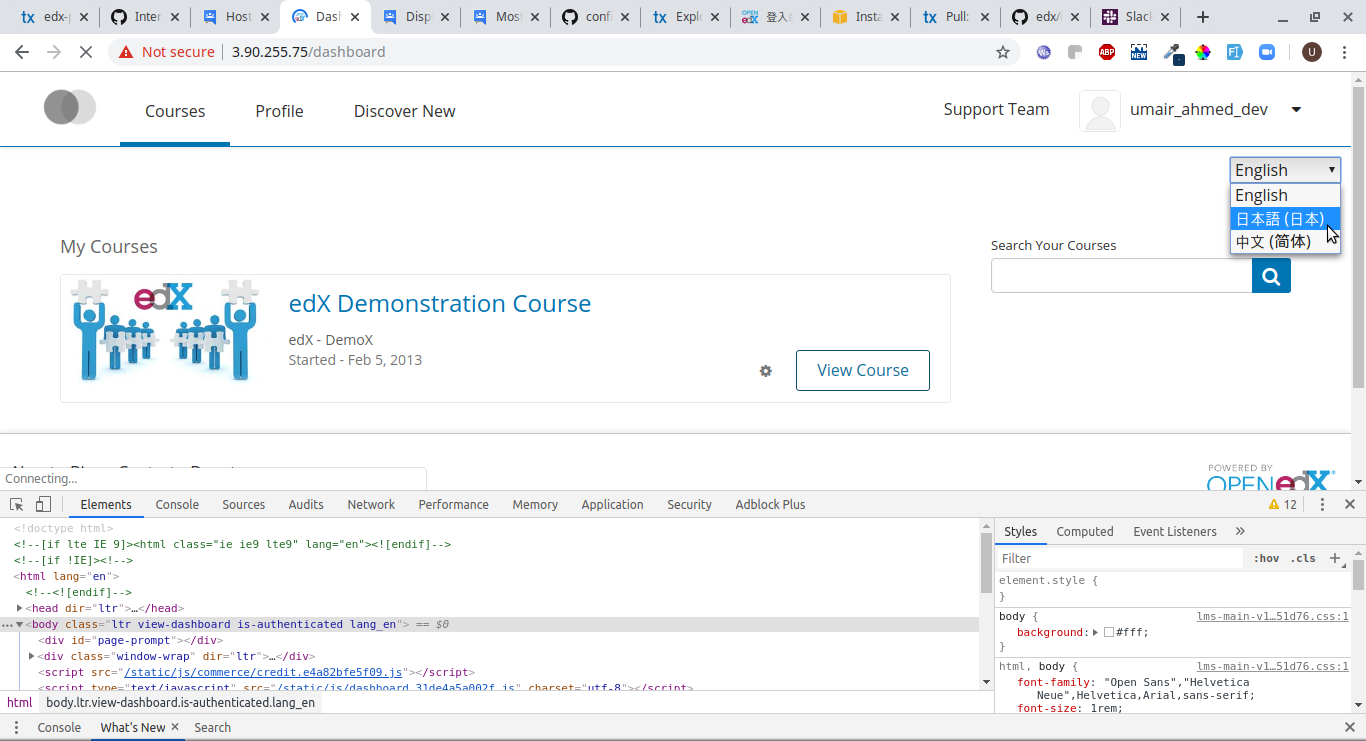
1. Enable the Language Selector
By using editor (nano, vim), open the file lms.env.json and cms.env.json one-by-one and add/edit the following key there:
"SHOW_HEADER_LANGUAGE_SELECTOR" : "true"

Similarly, if you want to enable your language selector in footer rather than header then make the following edit under lms.env.json and cms.env.json:
"SHOW_FOOTER_LANGUAGE_SELECTOR" : "true"

Restart your LMS and CMS
sudo /edx/bin/supervisorctl restart lms cms
2. Enable the languages in the Django Admin Panel
For this step, you will make changes in the django admin panel
To access the Django Panel, access the following link with a superuser:
[your open edx url]/admin (e.g. my-edx.com/admin)
Following screen will be displayed:
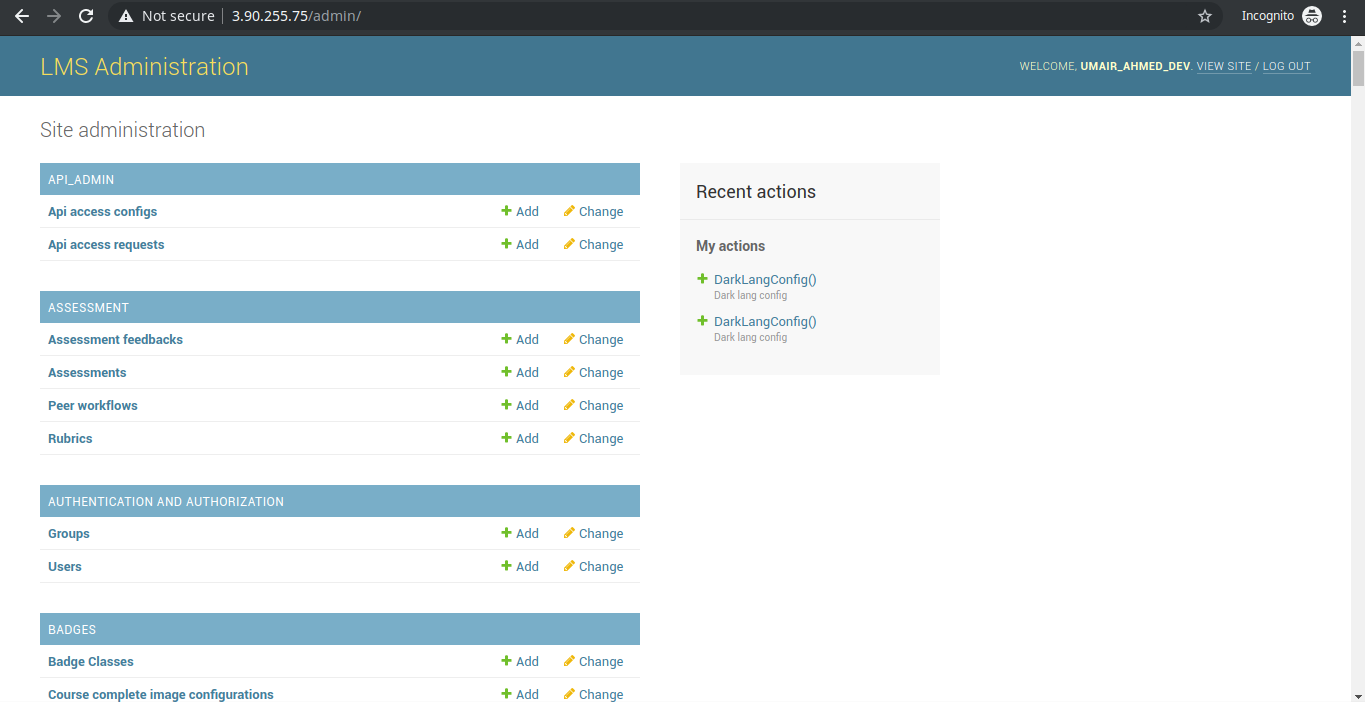
Now, look for: Dark lang configs
There, you will see following screen:
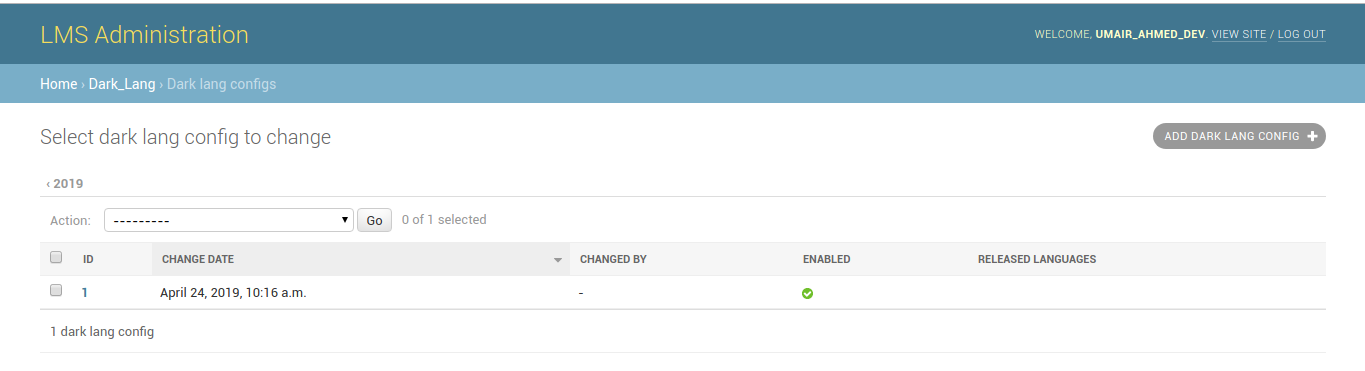
Click on the ADD DARK LANG CONFIG button on right top of the screen.
Enter your language codes as a comma separated values. For a list of language codes, you can go to https://github.com/edx/edx-platform/blob/f533134db1d2e7043ef1947f9dce08925ce535a1/lms/envs/common.py#L1203
For example, to add Chinese (China) and Japanese, you would add:
zh-cn, ja-jp
The result will look similar to the following:

3. Review your Site
Switch back to the LMS view. You should have the option to switch languages in the header
Part 4: Update Languages
If you've made changes to edx-platform's source code in your local installation, or the source files on Transifex is not up-to-date, you may need to extract strings manually.
Let's discuss a case of it first then we ll list down the commands that to be run:
See the item "Discover New" on top of the menu shown in English Language.

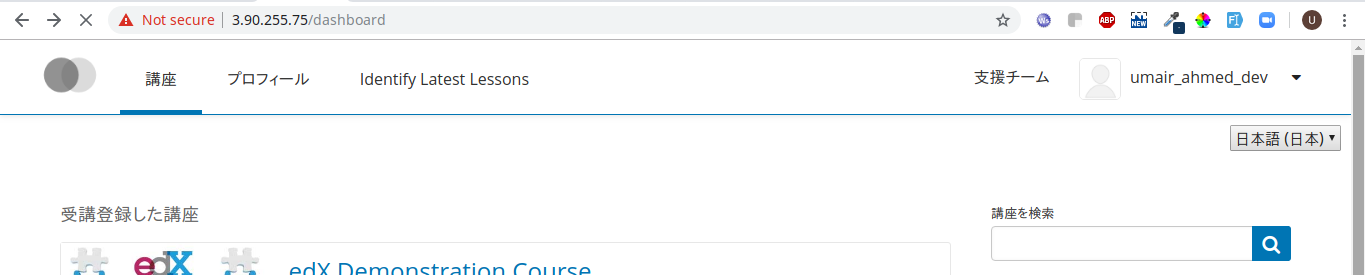
Let's change that "Discover New" to "Identify Latest Lessons" (An edit to a Platform Text):
From this:
To this:

Since, this is an edit to a platform text so it is unable to be translated to the Japanese version in this case we'll have to update our translations to our desired Language.
Follow these steps to extract the translatable strings from your local code
If not already the edxapp user, then execute these commands first:
sudo -H -u edxapp bash
source /edx/app/edxapp/edxapp_env
cd /edx/app/edxapp/edx-platform
Issue the extract command:
paver i18n_extract

The above command will extract translatable strings into several .po files located in the conf/locale/en/LC_MESSAGES.
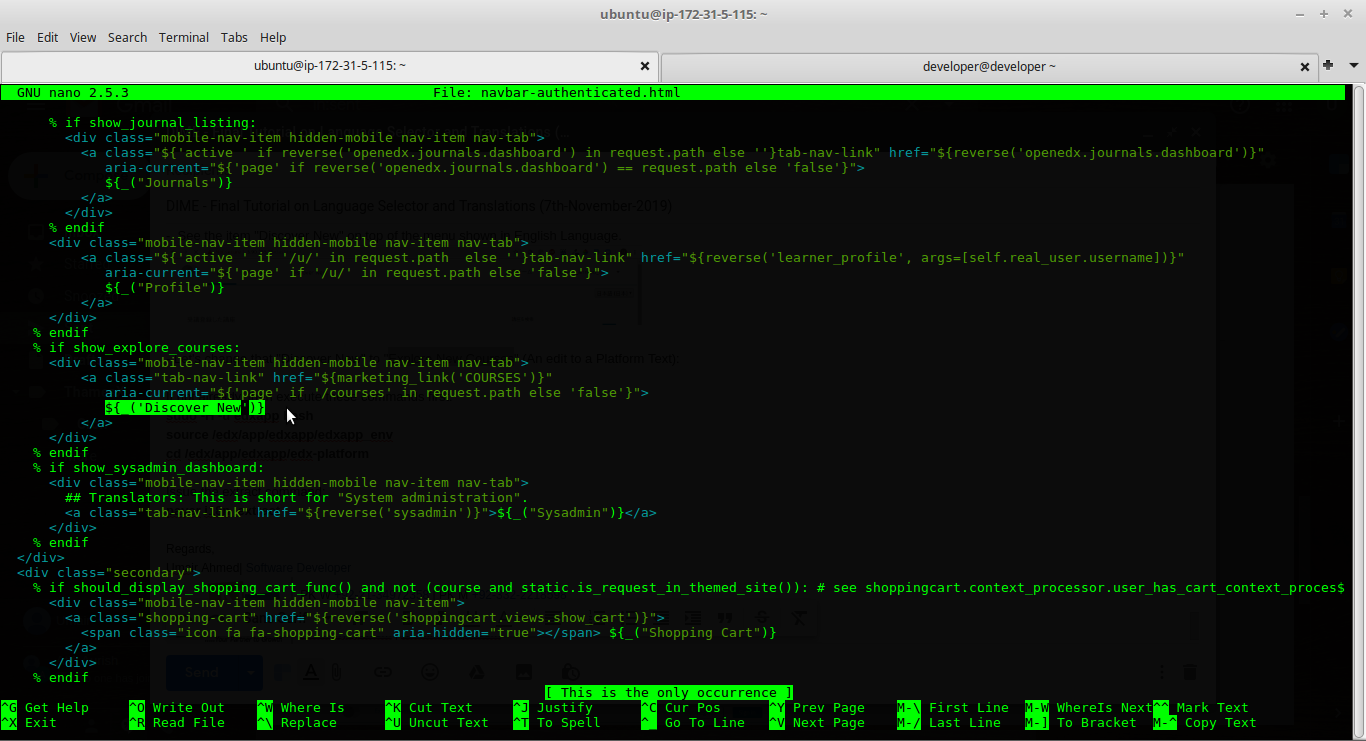
Now, we have to extract the msg that we edited. From the edx-platform directory, search for the edit that you made in the files located under conf/locale/en/LC_MESSAGES
grep -rni "msgid \"Identify Latest Lessons\"" conf/locale/en/LC_MESSAGES/
See the file and the line number in search result:

This file pick up our platform edit. Now, we need to do the merge.
After the extraction process, you can merge the newly extracted strings into the corresponding .po files (except django.po and djangojs.po, which are generated by i18n tools automatically from other .po files) located in conf/locale/<lang_code>/LC_MESSAGES.
General Rule/Syntax for msgmerge is:
msgmerge conf/locale/<Targeted_Language_Code>/LC_MESSAGES/<file_extracted_from_above_search><complete_path_of_source_file_extracted_from_above_search>
Example for Japanese Update:
msgmerge conf/locale/ja_JP/LC_MESSAGES/mako.po conf/locale/en/LC_MESSAGES/mako.po --update

Now, edit the contents of the extracted .po files located in conf/locale/<lang_code>/LC_MESSAGES as per need.
In our case, edit the following extracted file (conf/locale/ja_JP/LC_MESSAGES/mako.po)
Open this file and search for your edit "Identify Latest Lessons":
You will find this:

Update the translation by inputting the corresponding trans in msgstr:

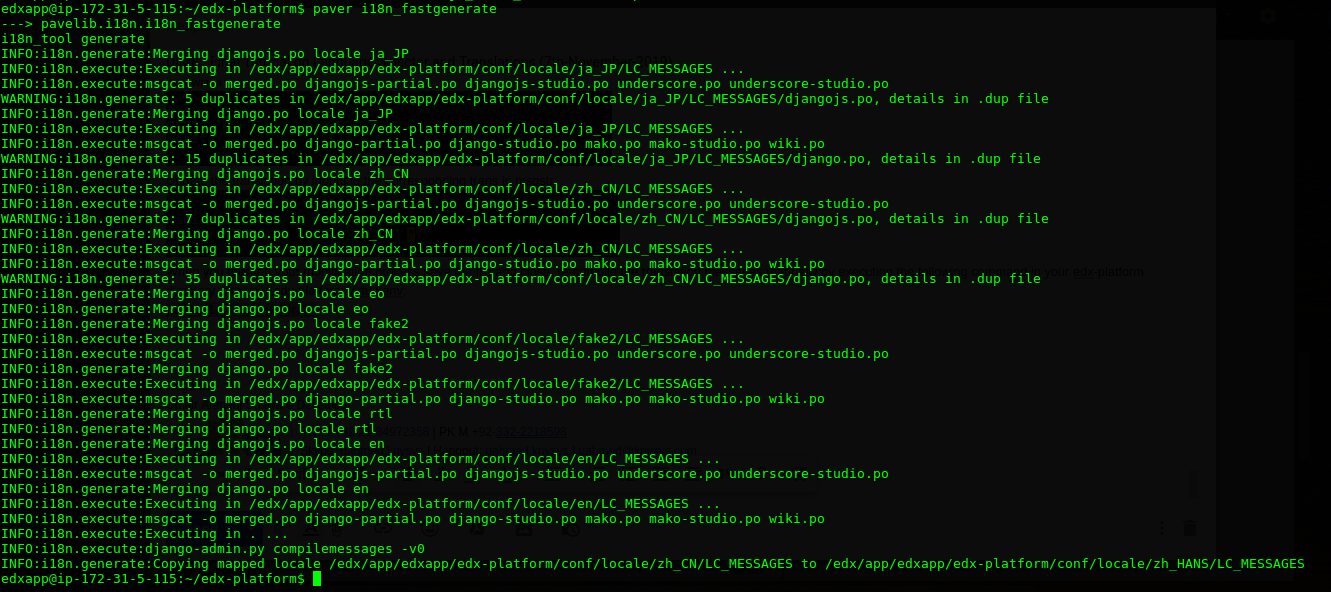
When you finished your modification process. save the file and close, re-compile the translation messages manually by executing the following command in your edx-platform directory with your edx-platform virtualenv:
paver i18n_fastgenerate
Exit the edxapp user and restart the application:

Now, go and reload application and test:

You can see that the translation for the platform edit text has been updated accordingly.